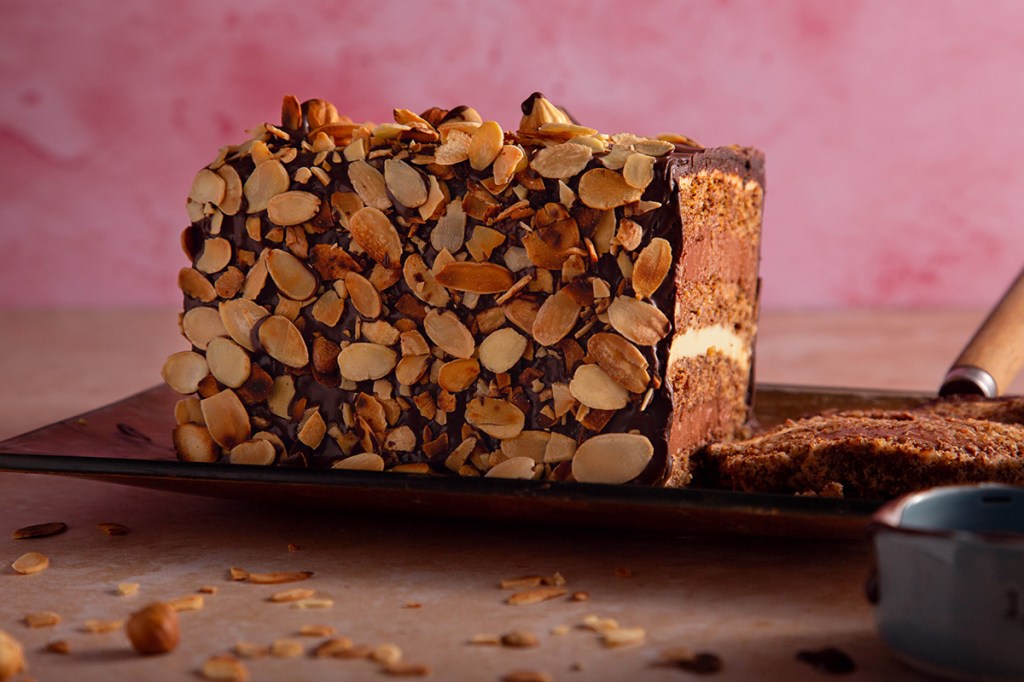
Torte of walnut dacquoise layered with vanilla and chocolate crème mousseline.
Ideal for a Christmas or New Year celebration!
This is my mum’s recipe—she probably got it from a colleague or a friend, though it remains a mystery who named it The Bohemian Torte and why. It’s handwritten in her old recipe notebook, most likely dating back to the eighties. I recently remembered it and realised I hadn’t made it since the nineties. Yet the flavours came rushing back instantly—they’re truly unforgettable. Without doubt, this is one of the best desserts I’ve ever made.
What is a torte?
For those unfamiliar with tortes, they are among the most decadent and sophisticated of desserts. They demand time, effort, and patience. Making one sparks your creativity, inviting you to explore new flavours and experiment with textures while teaching you the art of precision, composition, and harmony.
Tortes embody the idea of delayed gratification — you create, wait a while, and then enjoy a truly exceptional reward.
In the Balkans, tortes are among the finest legacies of our centuries-long connection with the powerful neighbours of the time, the Austro-Hungarian Empire. Tortes became cherished household staples wherever their influence reached, including Serbia, where I’m from.


Why Choose Dacquoise?
Dacquoise layers are delicate, nutty, and refined, yet surprisingly simple to make. They are a staple in many tortes, bringing both sophistication and lightness to the dessert. By experimenting with different types of nuts or adding a little grated chocolate, you can create a variety of flavours and textures.
Egg whites are whisked until firm peaks form, then sugar is gradually added until the mixture becomes glossy and smooth. The ground nuts are gently folded into the meringue. In some recipes—including this one—a small amount of flour (about a tablespoon) is sifted and combined with the nuts before folding into the egg whites. For a gluten-free version, simply omit the flour.
The nutty crunch of the dacquoise perfectly complements the silky texture of the crème mousseline, creating a balanced and indulgent dessert.


The Beauty of Crème Mousseline
The beauty of crème mousseline lies in its elegance, velvety texture, and rich flavour. Follow my recipe and it won’t even be overly sweet. Among the great achievements of fine pastry, crème mousseline stands out as one of the most refined.
So often, we encounter a cake that looks stunning, topped with a cream so inviting—yet after the first bite, we’re left underwhelmed. The dessert that seemed so promising turns out to be just average. Crème mousseline, however, never disappoints.
Essentially, crème mousseline is an elevated version of crème pâtissière. It begins with the same base ingredients: egg yolks (left over from the dacquoise), caster sugar, milk, and a thickening agent such as cornflour or flour. And of course, vanilla is indispensable. Once the crème is cooked and thickened, it’s left to cool before being combined with creamed butter. This addition gives the mixture its signature lightness and smooth, airy texture.
Vanilla-flavoured crème mousseline is wonderful on its own, but for variation—or to please chocolate lovers—you can fold melted dark chocolate into half of the cream, as I did.

Can I freeze it?
Yes, it freezes very well. This is quite a large torte — it serves more than 20 people — so unless you’re making it for a big party or a Christmas gathering, you might want to freeze half of it.
Important notes:
- Use chocolate with at least 60% cocoa solids.
- Choose good-quality unsalted butter.
- You can use different nuts, such as ground almonds or hazelnuts. Although walnuts are my favourite, you’ll get excellent results with any other nuts. Ground almonds, also known as almond flour, are widely available. I use them often, but sometimes find them a little lacking in flavour, so I recommend lightly toasting them in a dry pan for a few minutes until they release their aroma. You’ll know they’re ready when that lovely, distinctive scent fills the air — just be careful, as they burn easily.
Torte La Bohème – Decadent Walnut Dacquoise Torte Recipe
Torte La Bohème
Decadent Walnut Dacquoise Torte Recipe. Torte of walnut dacquoise layered with vanilla and chocolate crème mousseline.
Ingredients for Walnut dacquoise (makes two):
- 2 x 7 egg whites (use large eggs)
- 2 x 100g caster sugar
- 2 x 150g ground walnuts
- 2 x 20g grated dark chocolate
- 1 x 1Tbsp plain white flour, sifted.
- Large mixing bowl
- Small bowl
- Baking tray, 20 x 30 cm, lined with baking paper
Ingredients for crème mousseline:
- 14 yolks
- 150g caster sugar
- 50g cornflour
- 200ml milk
- 200g good-quality unsalted butter
- 1tsp vanilla extract
- 100g dark chocolate, melted
- Medium-sized saucepan with a thick bottom
- Small saucepan
- 2 medium to large-sized mixing bowls
Ingredients for ganache:
- 120g dark chocolate
- 120g double cream
for decoration:
- Roasted almond flakes
- Roasted hazelnuts, chopped and whole
instructions:
Start by preparing the Walnut dacquoise.
You are going to prepare and bake two dacquoise sponges separately.
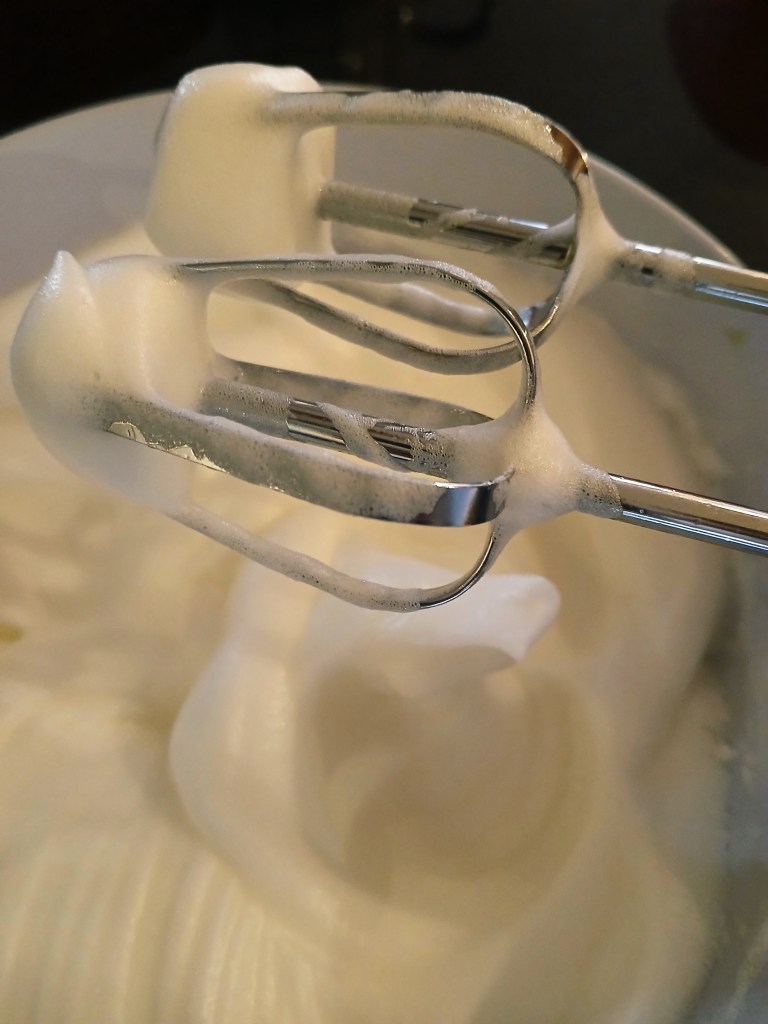
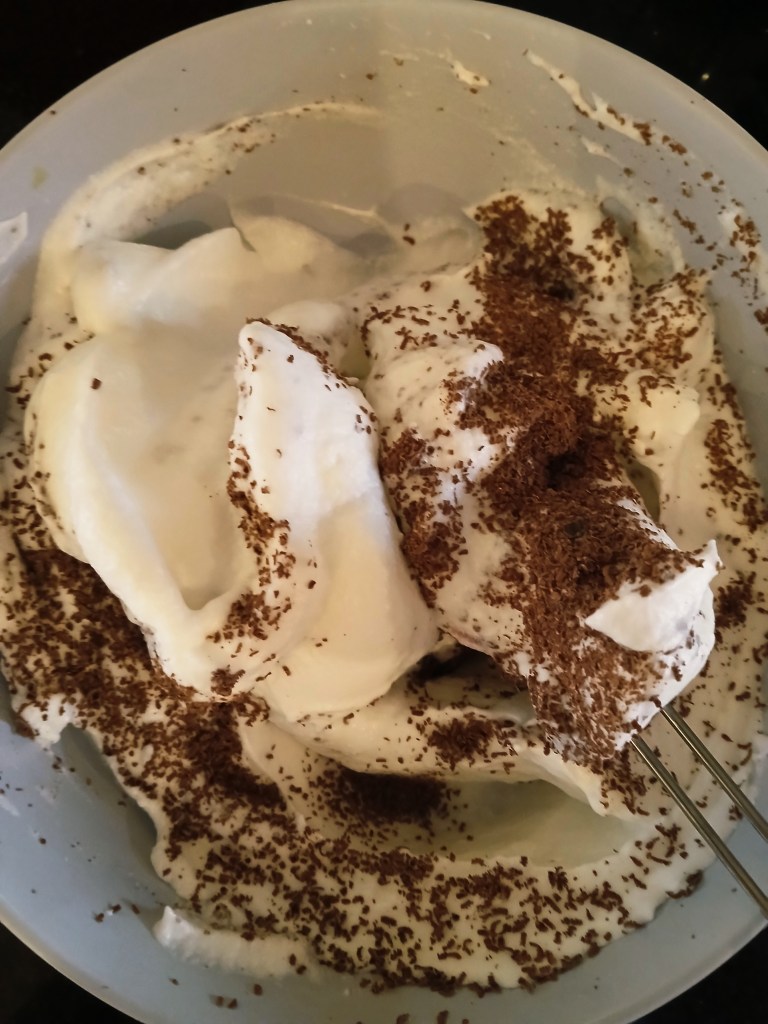
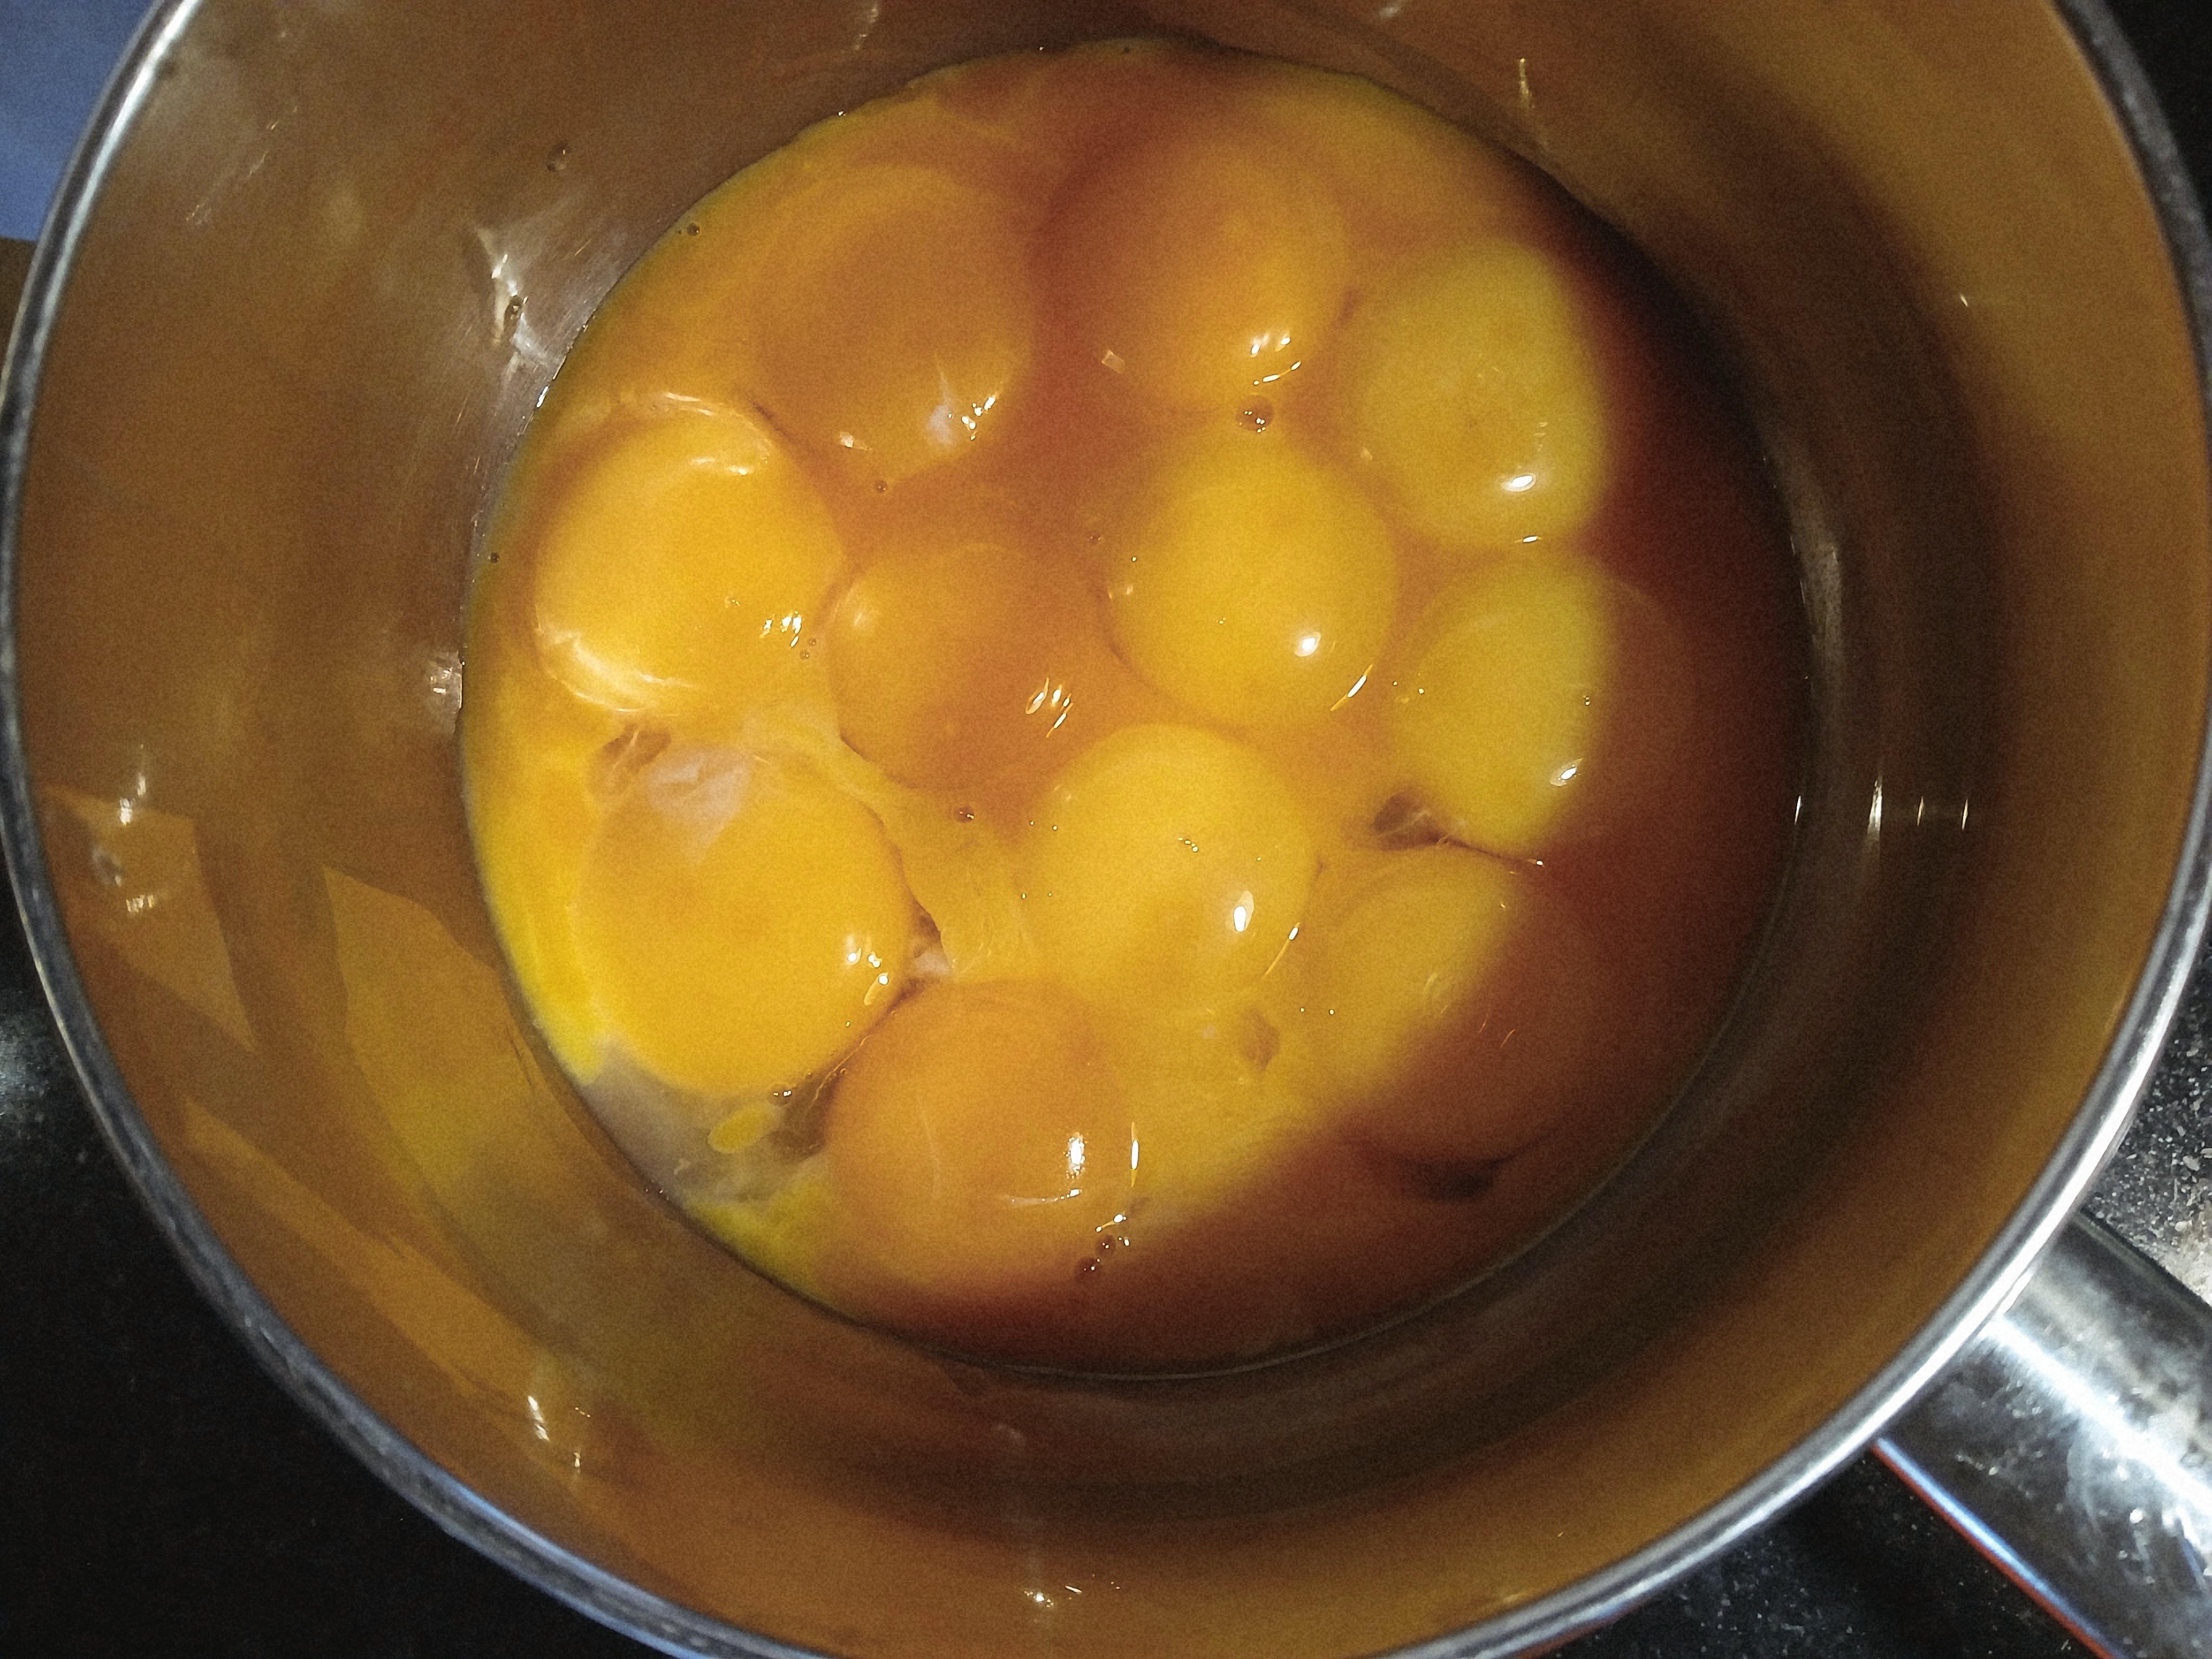
Start by separating the eggs — place the seven egg whites in a large mixing bowl and the yolks in a medium-sized saucepan. Whisk the egg whites until firm peaks form, being careful not to over whisk. To check if they are ready, gently shake the bowl; if the foam stays in place, it’s done. Gradually add the sugar, one spoonful at a time, whisking between each addition until the sugar has dissolved and the mixture looks glossy.

Set the mixer aside and preheat the oven to 160°C (fan).
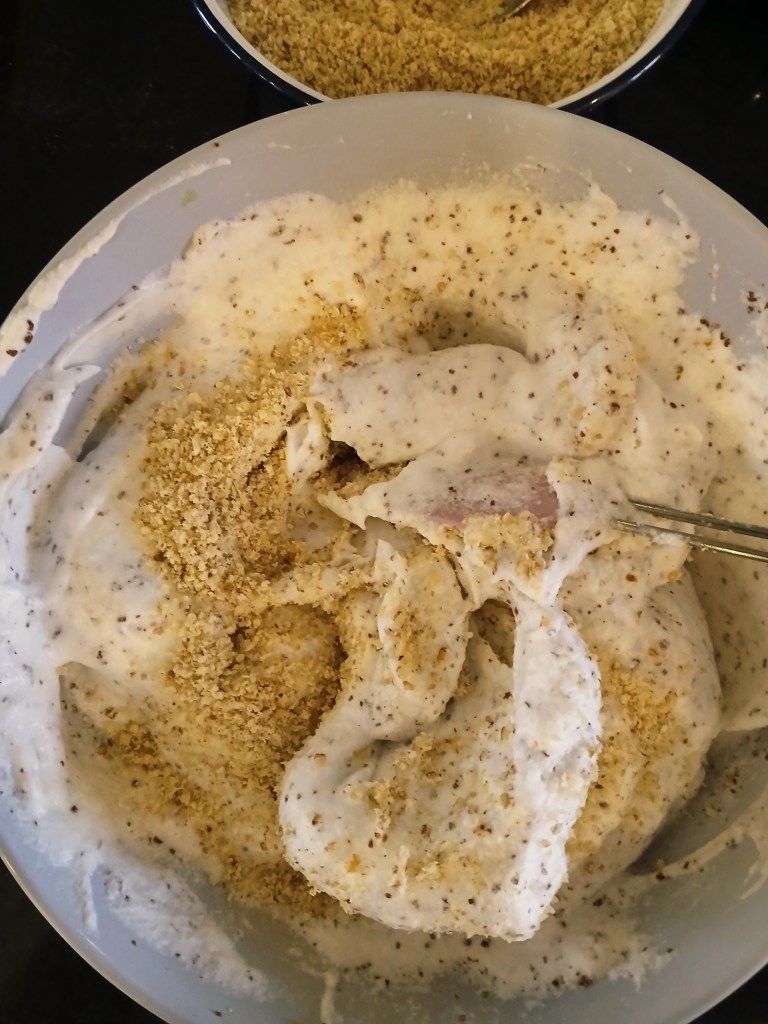
In a small bowl, weigh the ground walnuts and fold in the sifted flour. Using a spatula, gently and gradually fold the walnut–flour mixture into the meringue, turning the spatula from the bottom of the bowl to the top with each addition until evenly combined.
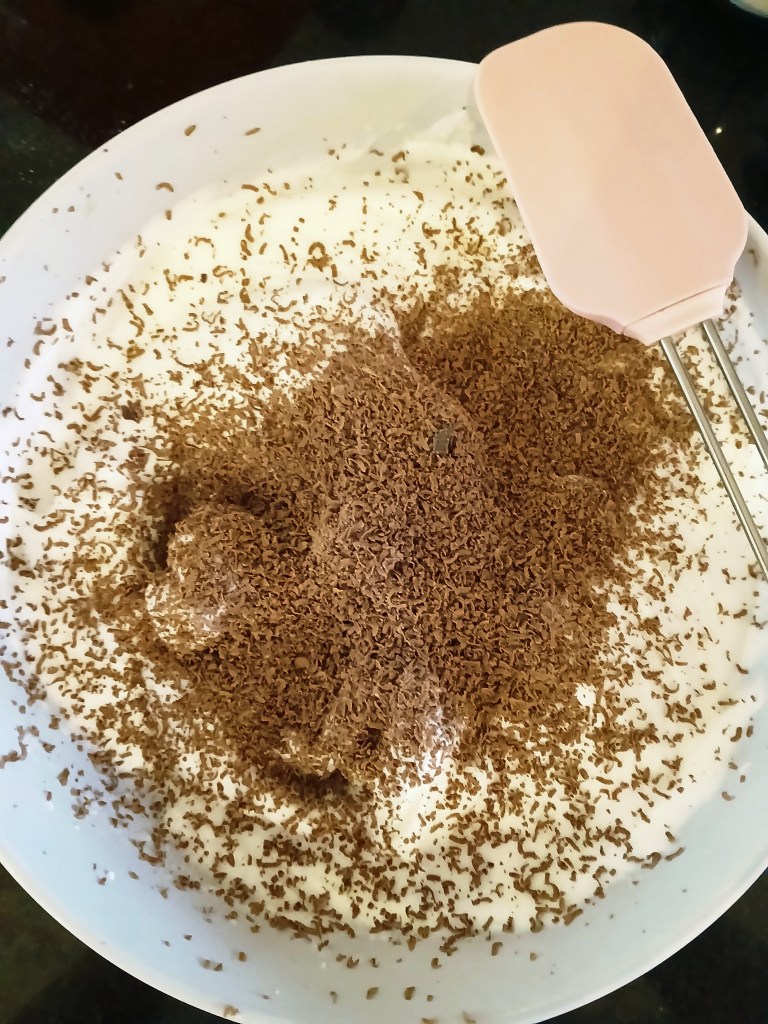
Grate the chocolate and fold it into the mixture with the spatula.
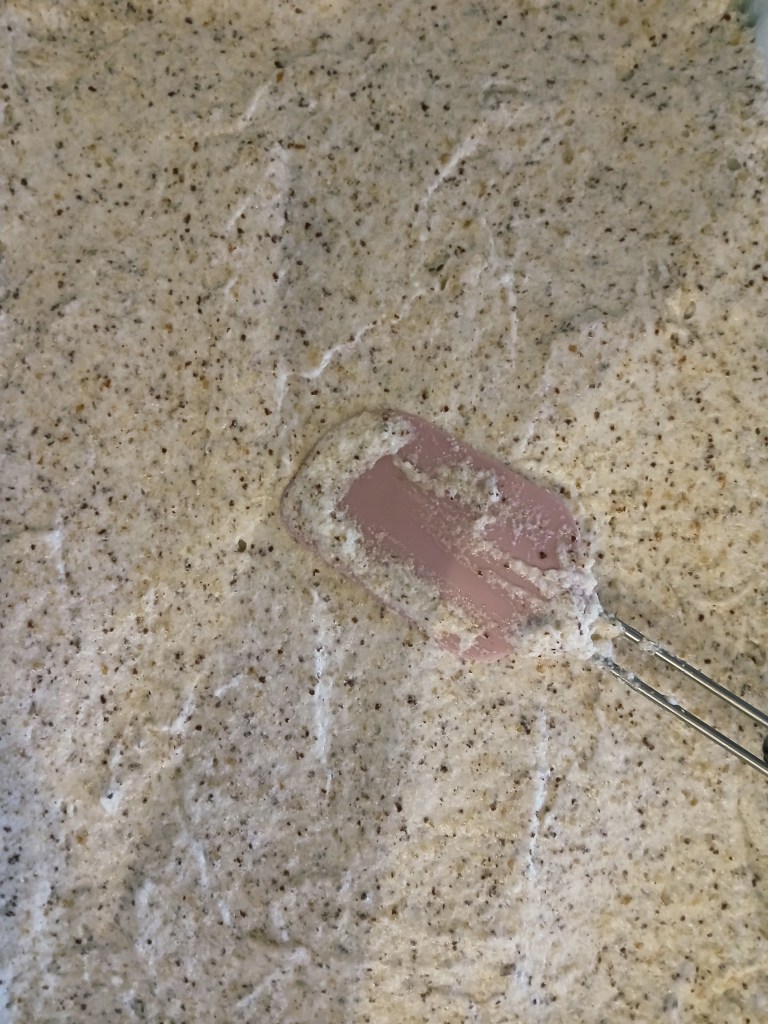
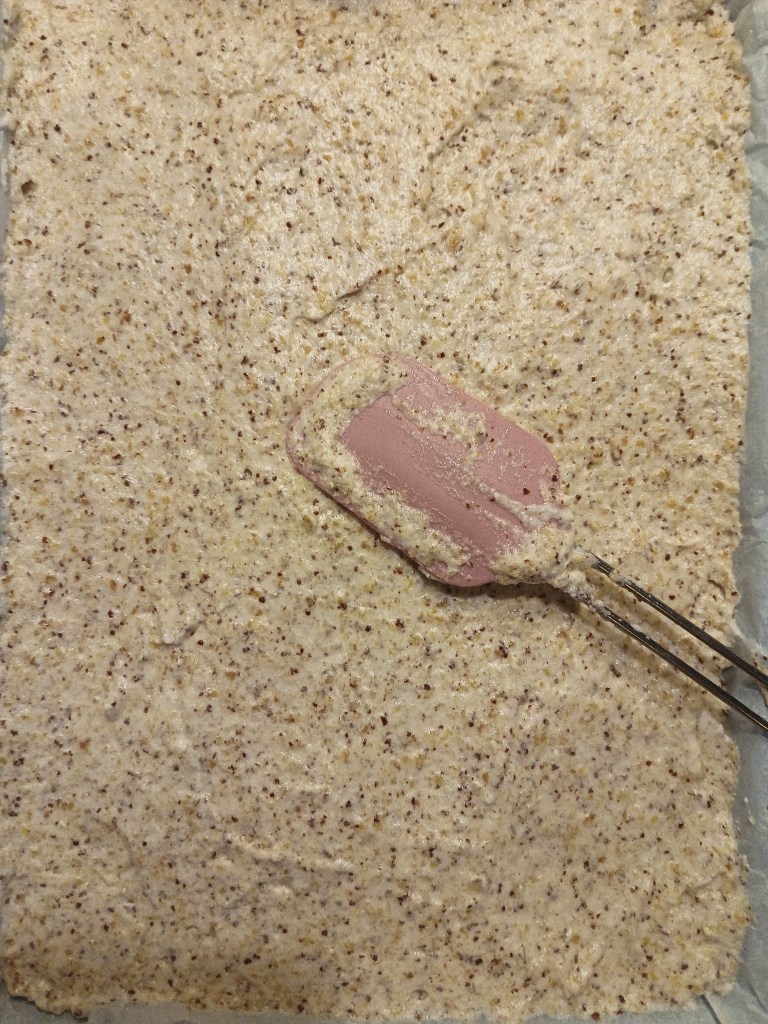
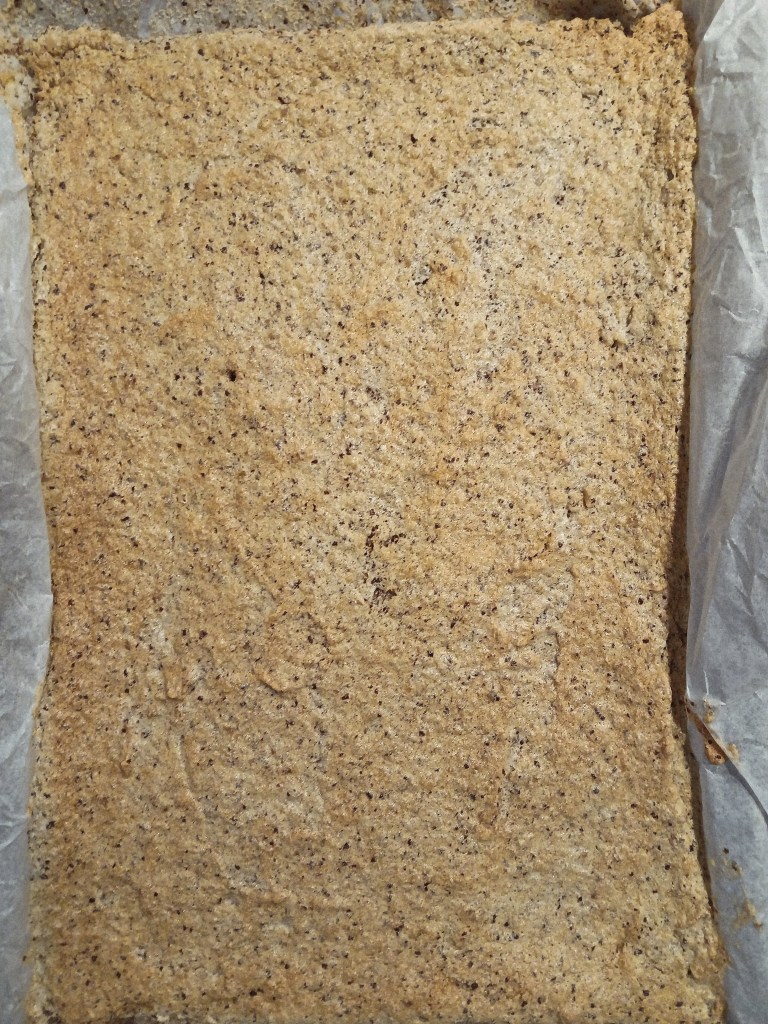
Pour the mixture into a lined baking tin and smooth the surface. Bake in the preheated oven for 20 minutes.
Transfer the baked sponge onto a cooling rack. Once cooled, cut it in half lengthways to create two strips, each about 30 cm long.

Crème mousseline:
The method I’m using here is foolproof—tried and tested hundreds of times, not only by me, but also by my mother and sister. What I love most about it is that it greatly reduces the risk of curdling the egg yolks. Trust me on this one!
Remove the butter from the fridge and weigh it into a mixing bowl.
In a medium-sized, heavy-based saucepan (the one you used to drop all 14 yolks), weigh and whisk together the yolks and sugar by hand. Place the saucepan back on the scales, then weigh and whisk in the cornflour, ensuring there are no lumps.
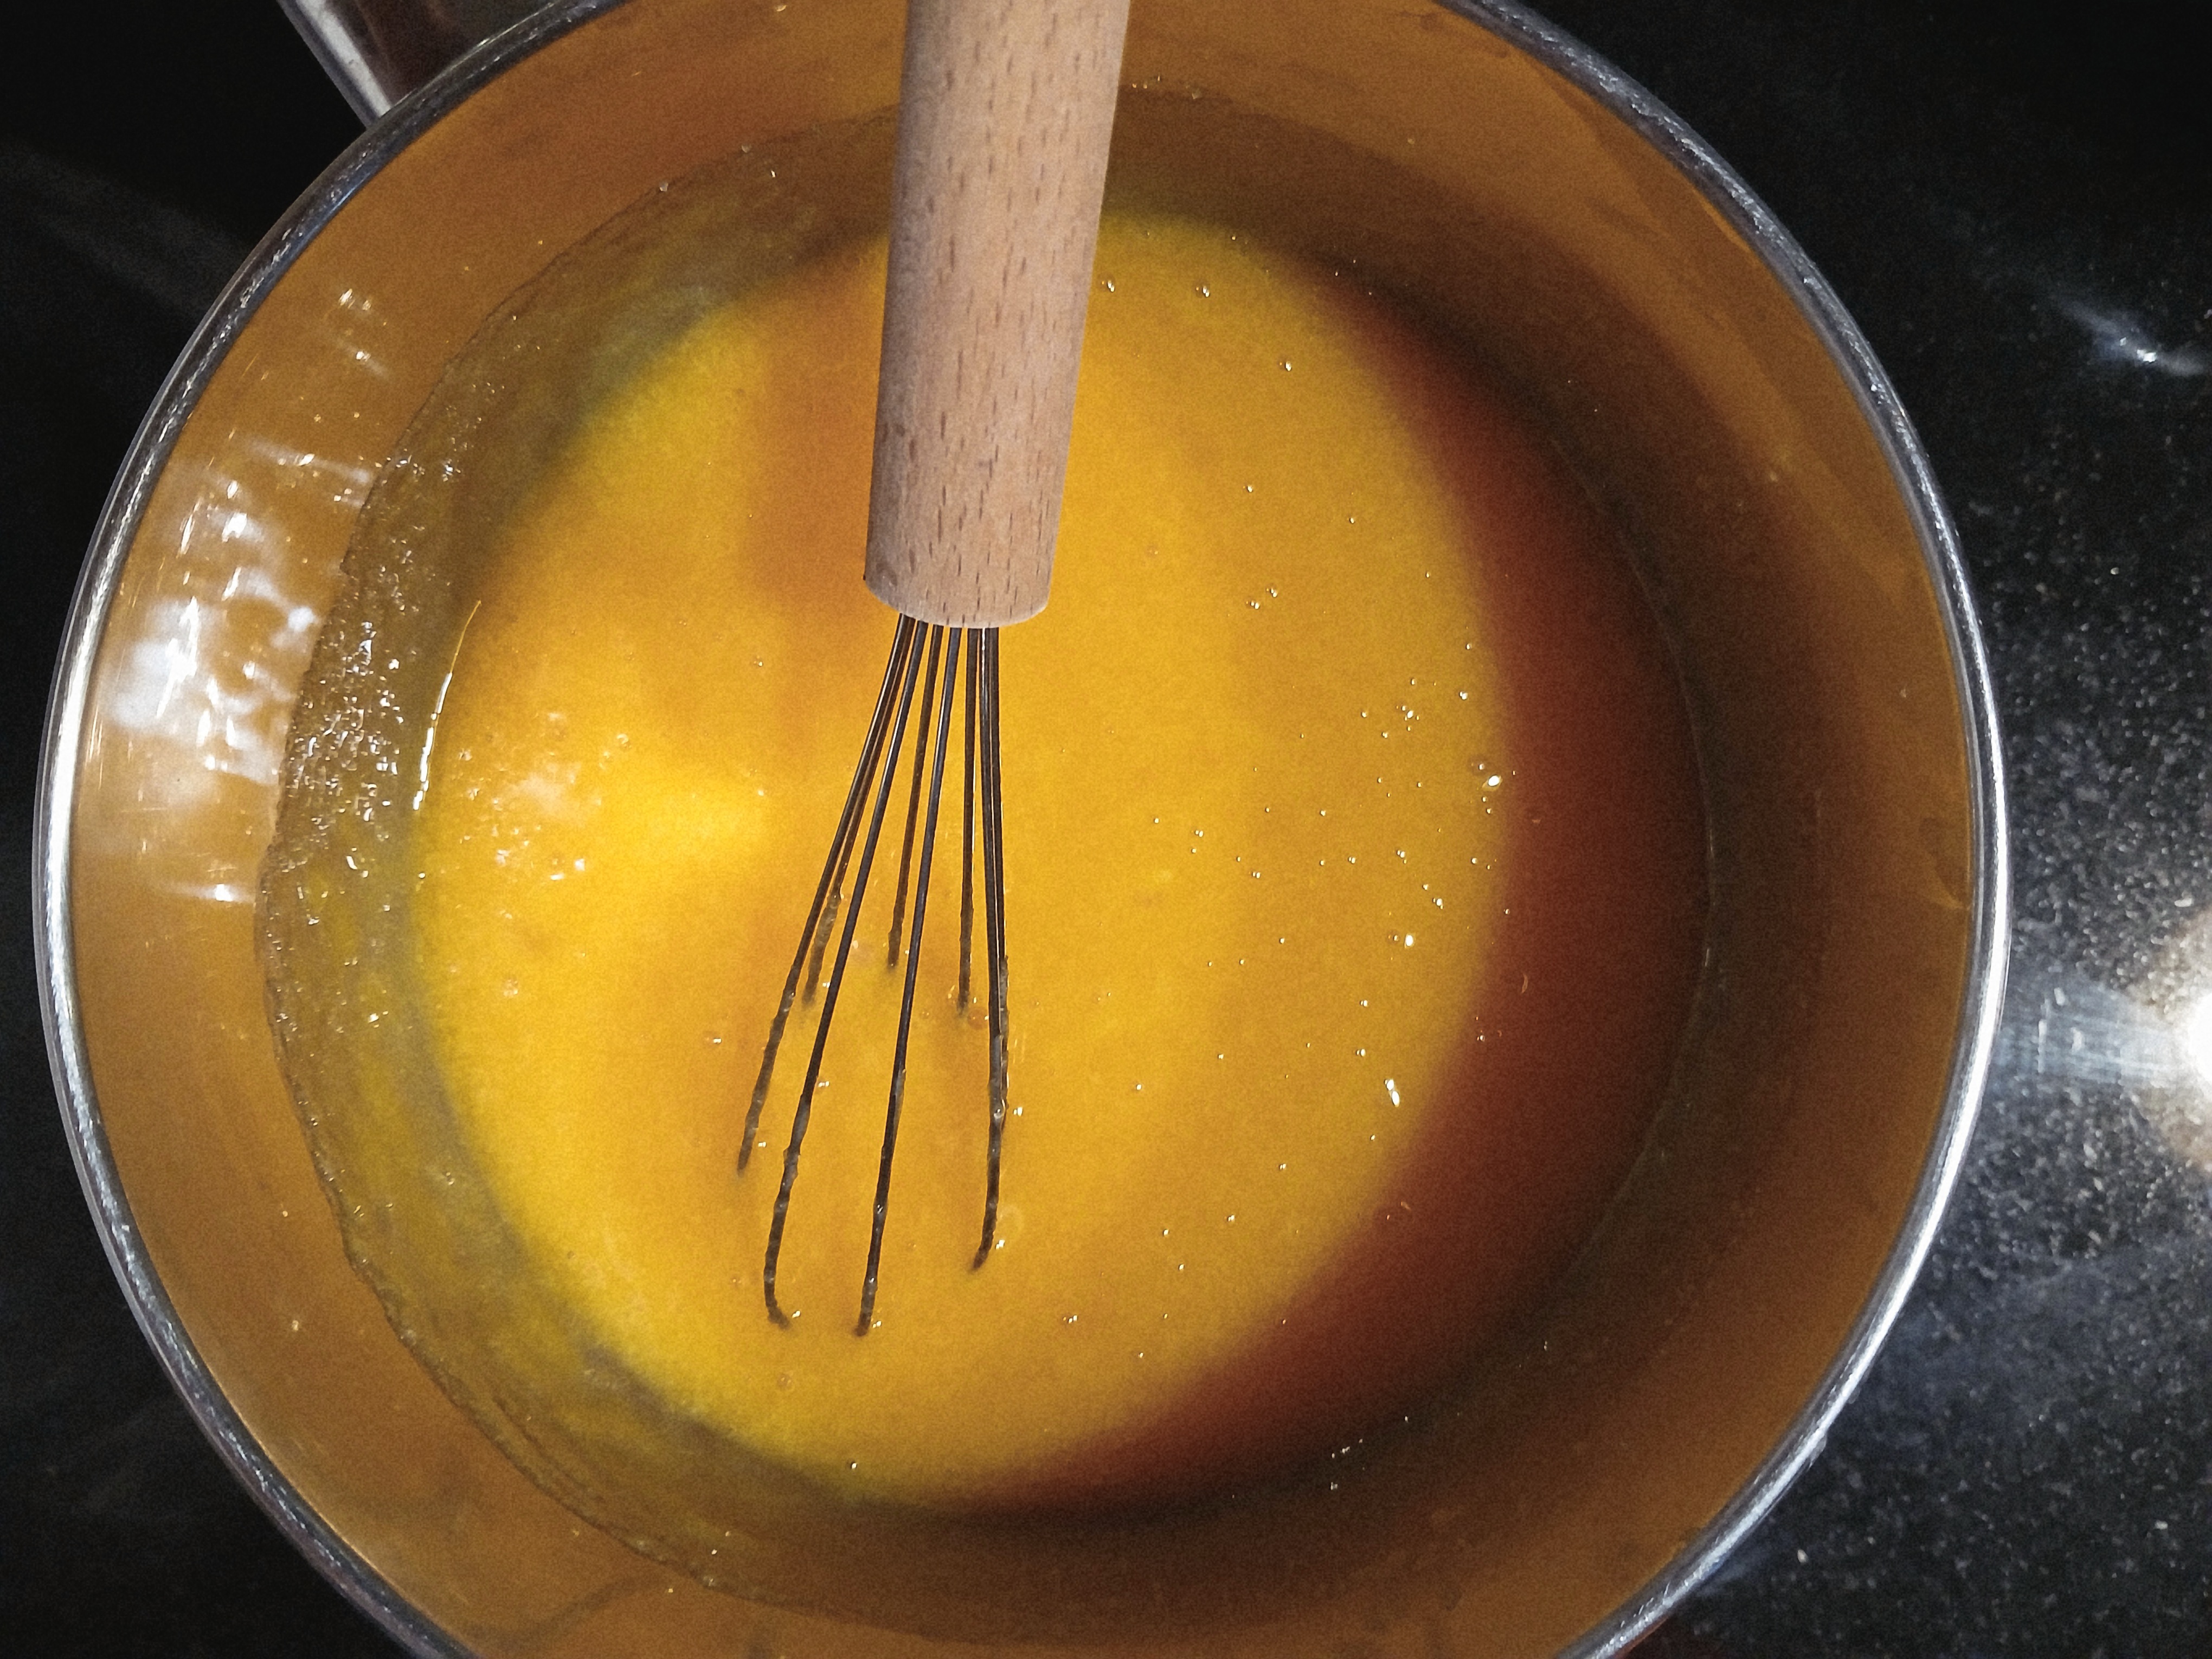
Measure out the milk in a jug, and use a little of it to mix into the cornflour until smooth—it may feel quite thick at first, but a splash of milk helps loosen it. Pour in the remaining milk and the double cream into the saucepan, stirring well to fully dissolve the egg yolk, sugar, and cornflour mixture.
Set the saucepan over a low heat and begin to stir. At first, you won’t need to stir constantly, but as the mixture warms, you’ll need to give it more attention. The main goal is to prevent the cream from catching on the bottom and burning. As soon as you notice it starting to thicken slightly, begin stirring continuously. It takes time for the mixture to heat through, but once it begins to thicken, it all happens very quickly.


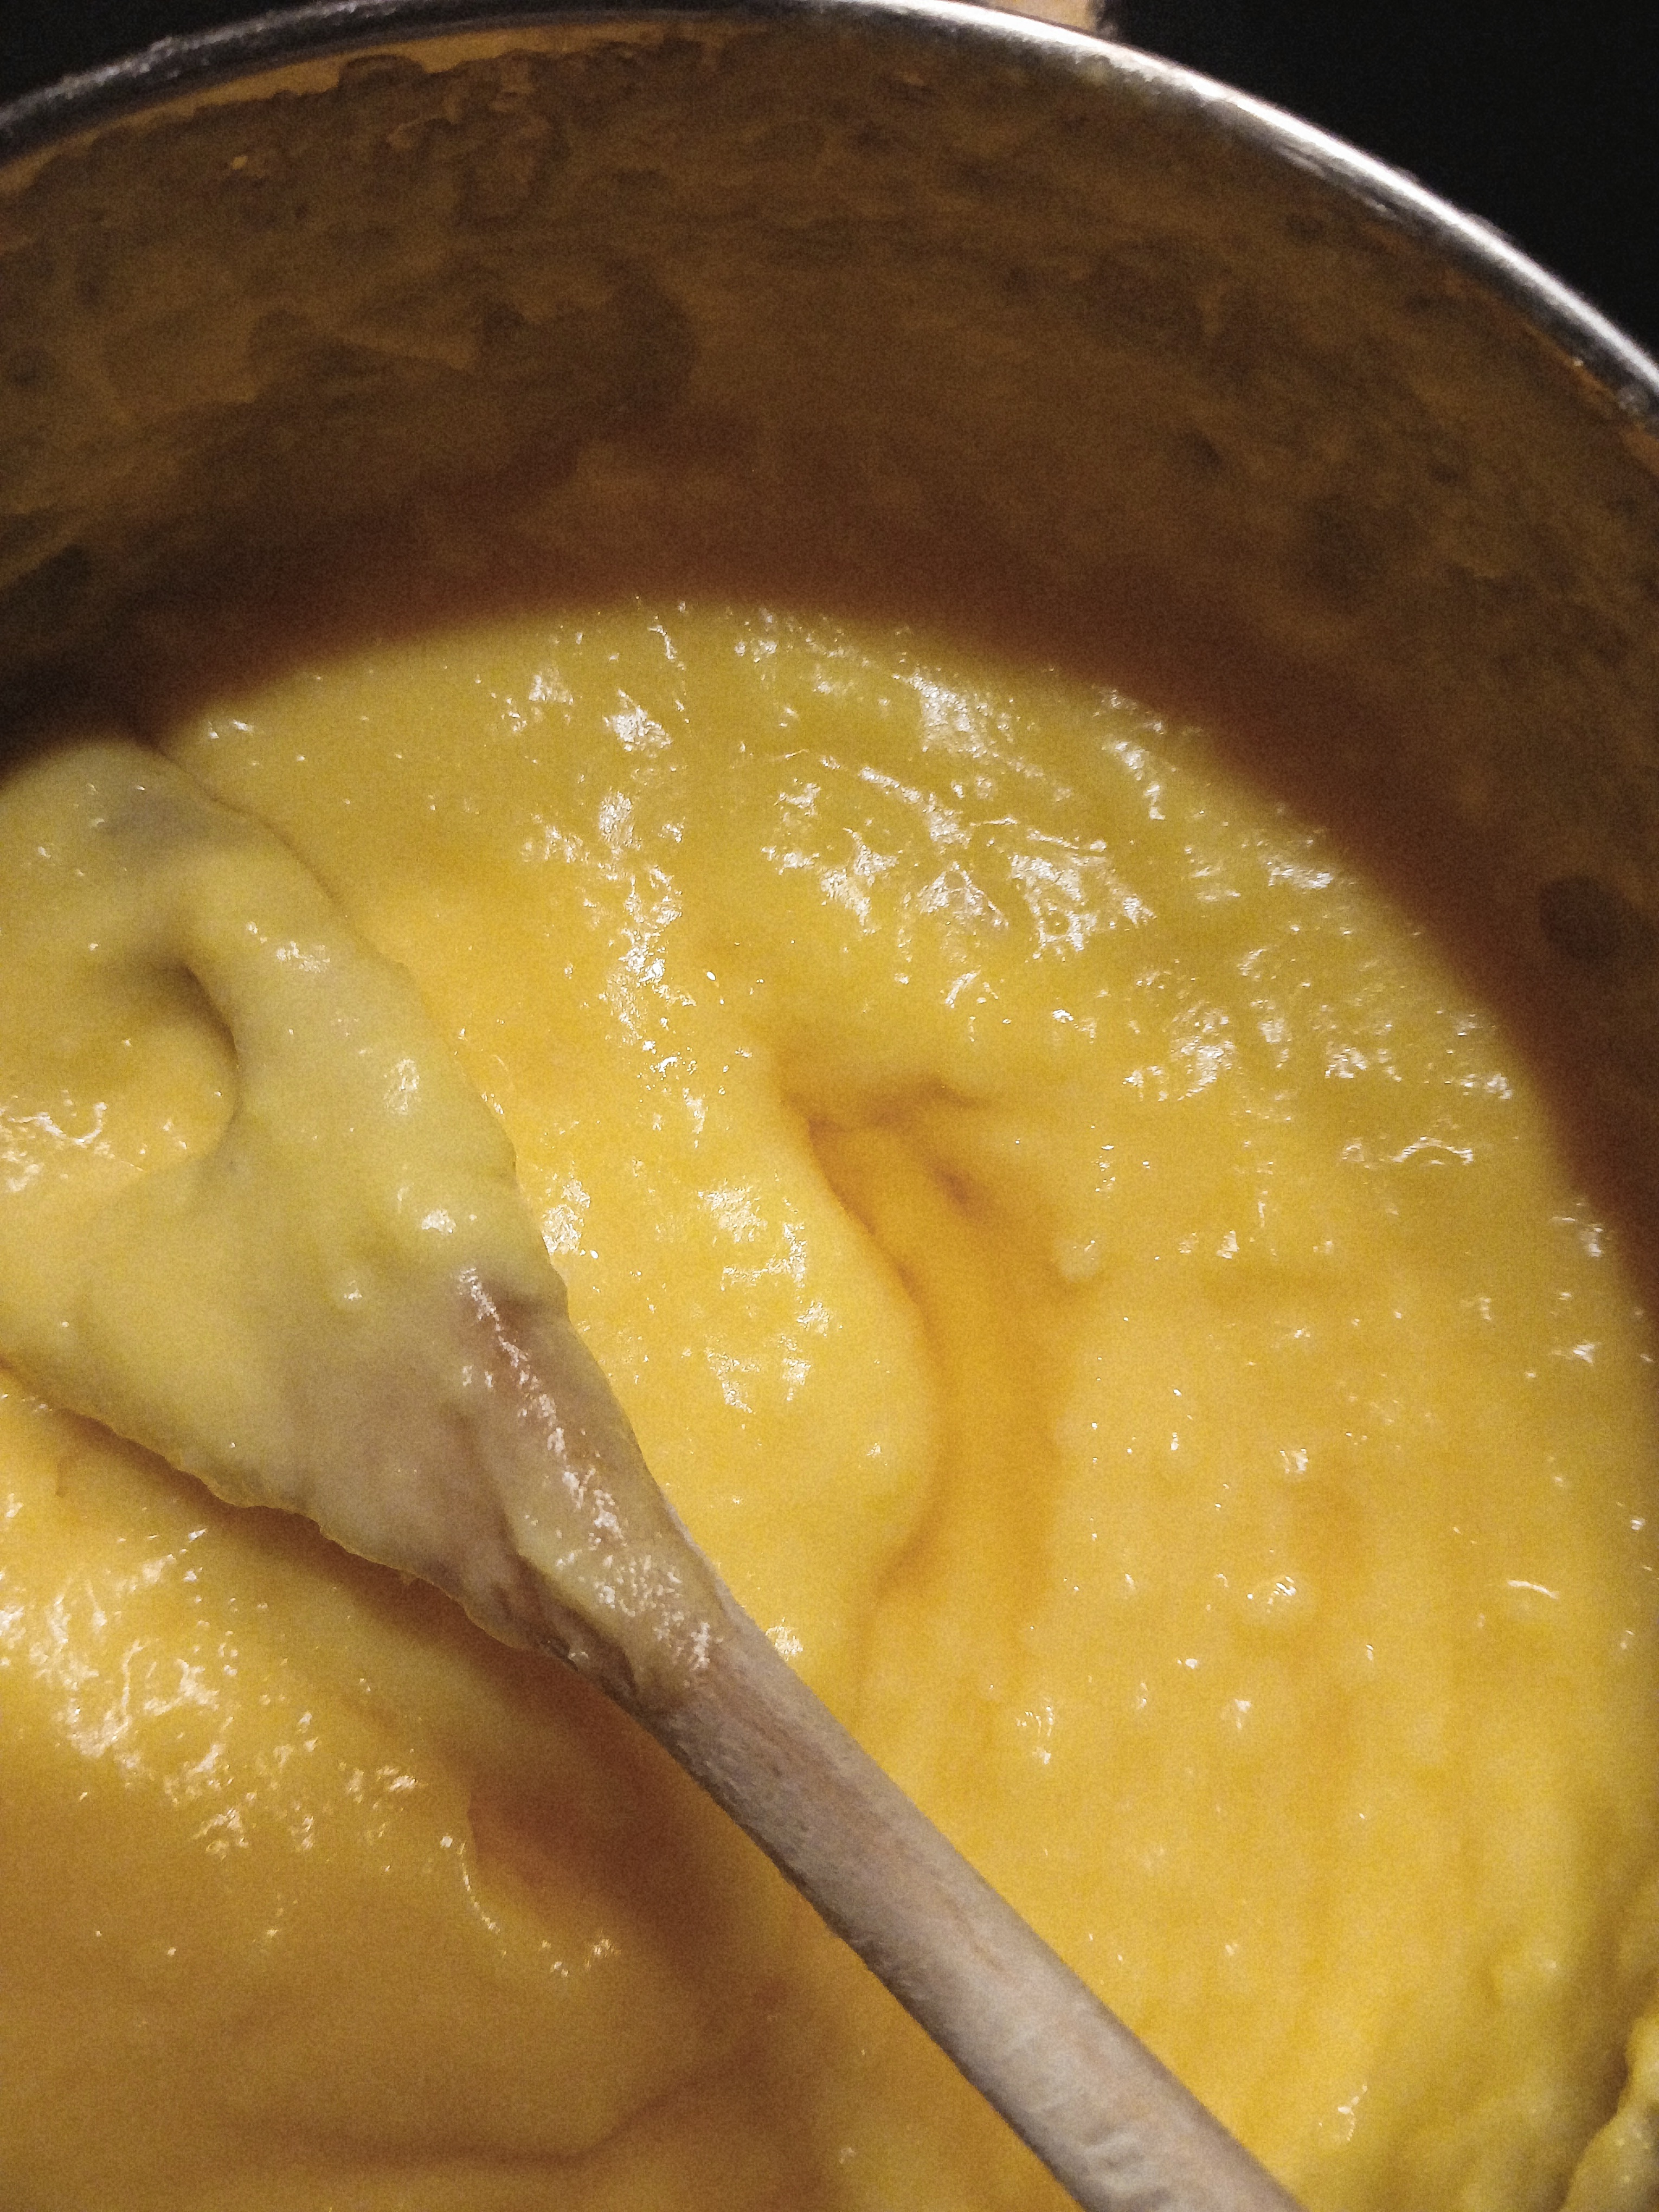
How will you know when the cream is ready?
When you run the mixing spoon across the bottom of the pan, it should leave a trail that doesn’t close up straight away. You can also check the photos for reference!
Quickly remove the pan from the heat and keep stirring vigorously to smooth out any lumps. I don’t enjoy this part much, as my arm usually starts to ache after a while. That’s when I usually call my husband or one of my sons to help me out. Do the same—get an extra hand if you can! Then, add the vanilla.
Last Step to Perfect Crème Mousseline
Allow the pastry cream to cool to room temperature. The butter should already be out of the fridge — it’s important that both are at the same, or very similar, temperature.
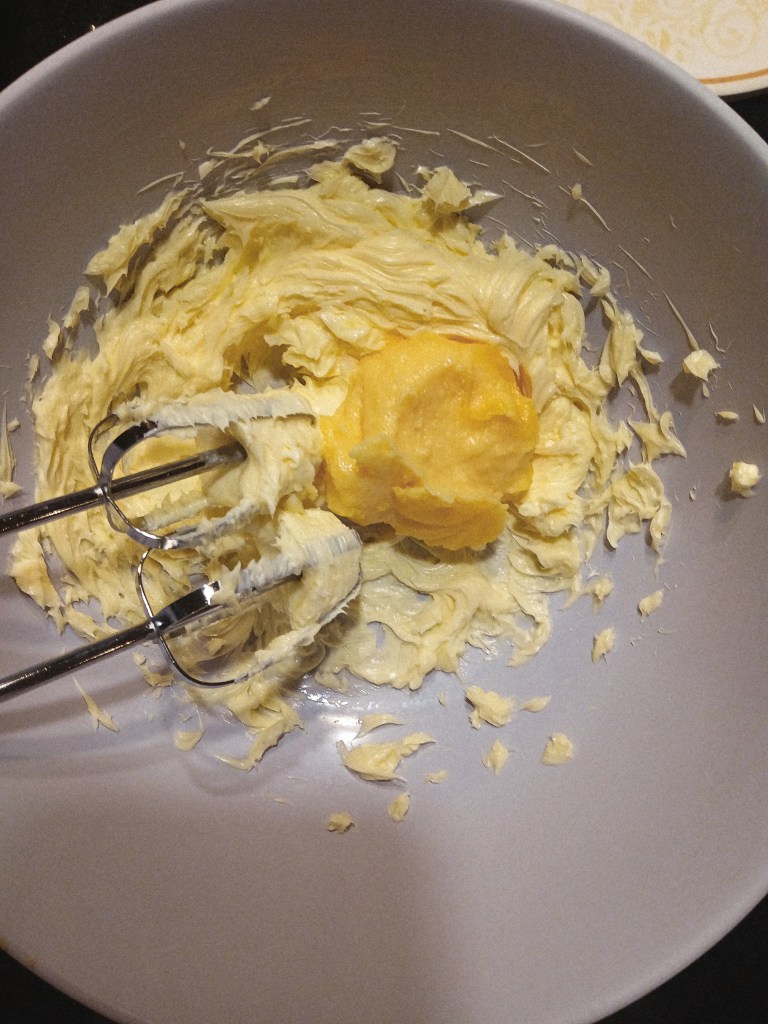
Once you’re confident they’ve both reached room temperature, cream the butter. Then whisk the cooled pastry cream briefly with a hand mixer (no need to wash the whisks), which will make it lighter and smoother. Add a tablespoon of the cream to the creamed butter and whisk again. Continue adding the cream, one tablespoon at a time, until it is fully incorporated.
Scoop out half of the mixture into a separate mixing bowl. You can divide it precisely using a kitchen scale or simply estimate by eye.
Melt the chocolate in the microwave or on the hob, then leave it to cool slightly before pouring it into one of the bowls. Stir until the chocolate is evenly blended. You should now have two equal portions — one vanilla (yellow) and one chocolate crème mousseline.


Assembling the Torte
Choose a beautiful tray for your torte – it certainly deserves it.
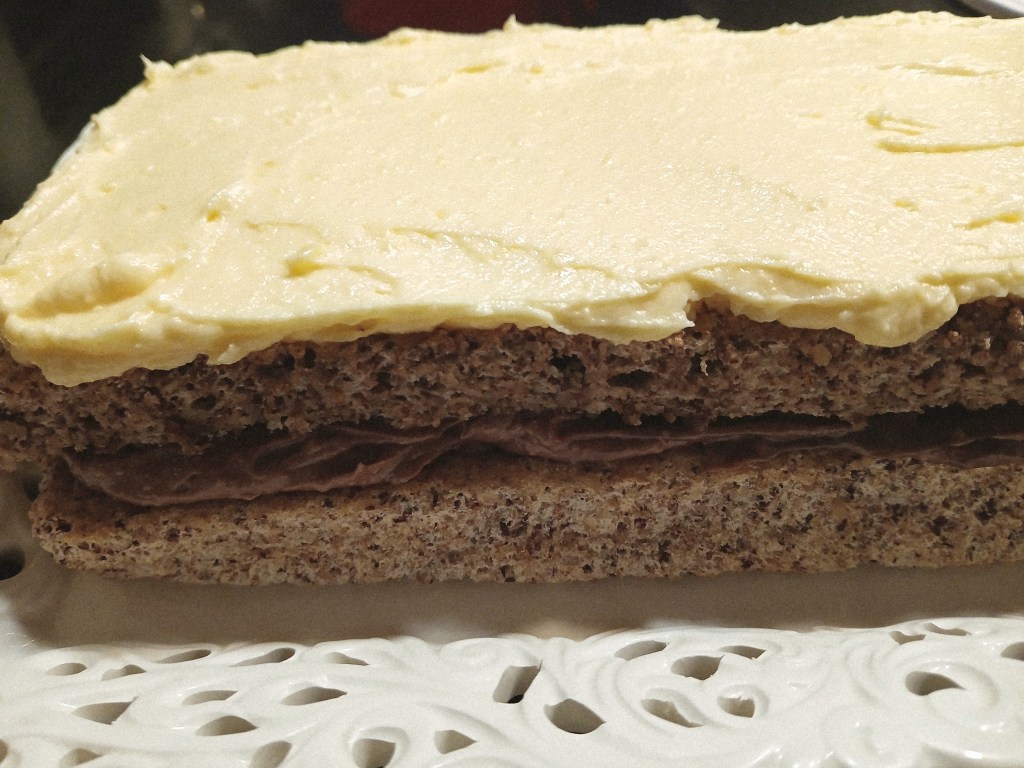
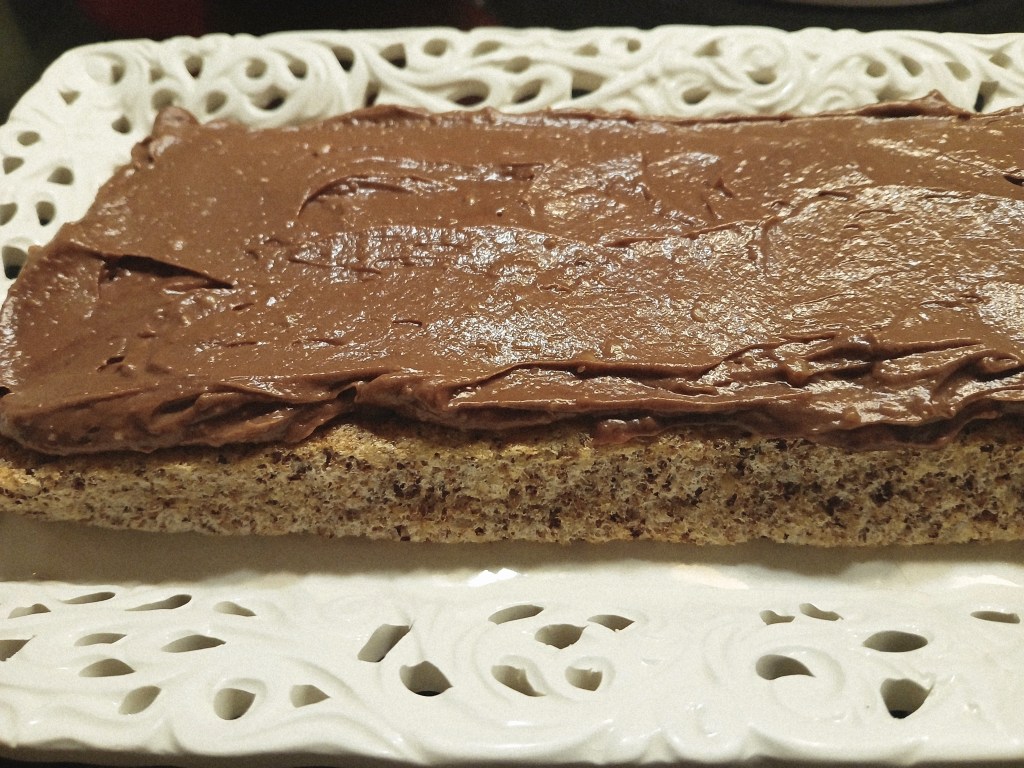
Place the first of four dacquoise layers on a serving plate. Spread half of the chocolate cream evenly over it and top with the second dacquoise layer. Next, spread half of the yellow cream and add the third sponge layer. Finish with the remaining chocolate cream, then place the final dacquoise layer on top. Use the rest of the yellow cream to coat the top and sides of the cake.
Refrigerate overnight to set.

Ganache
Finely chop the chocolate. In a small saucepan, gently heat the double cream and remove from the heat just before it comes to the boil. Add the chopped chocolate and stir until smooth and combined.
Allow the ganache to cool slightly before glazing the cake – it’s difficult to work with if it’s too hot and runny.
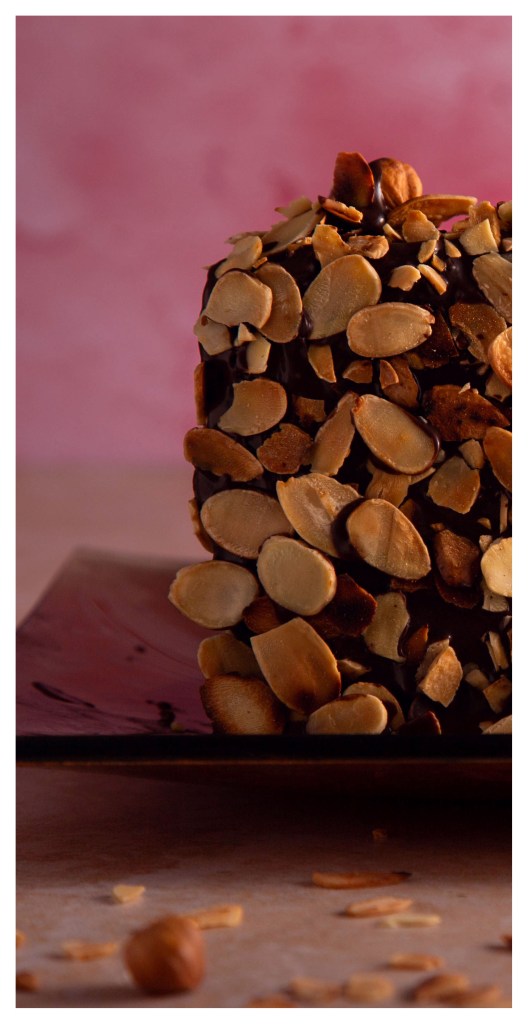
Decorate with roasted almond flakes, or however you prefer.

Leave a comment