”A classic Hungarian layered torte — elegant, nutty, and perfect for an Easter celebration.”
The Esterházy torte is, to me, the most elegant dessert of all. This is not because of its aristocratic origins and associations—so often mentioned whenever the torte is discussed—but rather for the subtle refinement of its flavours and textures. After the first bite of its layers of almond dacquoise and crème mousseline, I was completely captivated by the harmony of tastes: the richness of good butter and vanilla in the crème, the nuttiness of the dacquoise, the crunch of roasted almonds, and the delicate hint of chocolate from the glaze.
What is a torte?
It is truly a torte for special occasions. The last time I made it was for my eldest son’s birthday. Although it isn’t especially difficult to prepare, it does demand a bit of time—and, as with all fine baking, a generous measure of love.
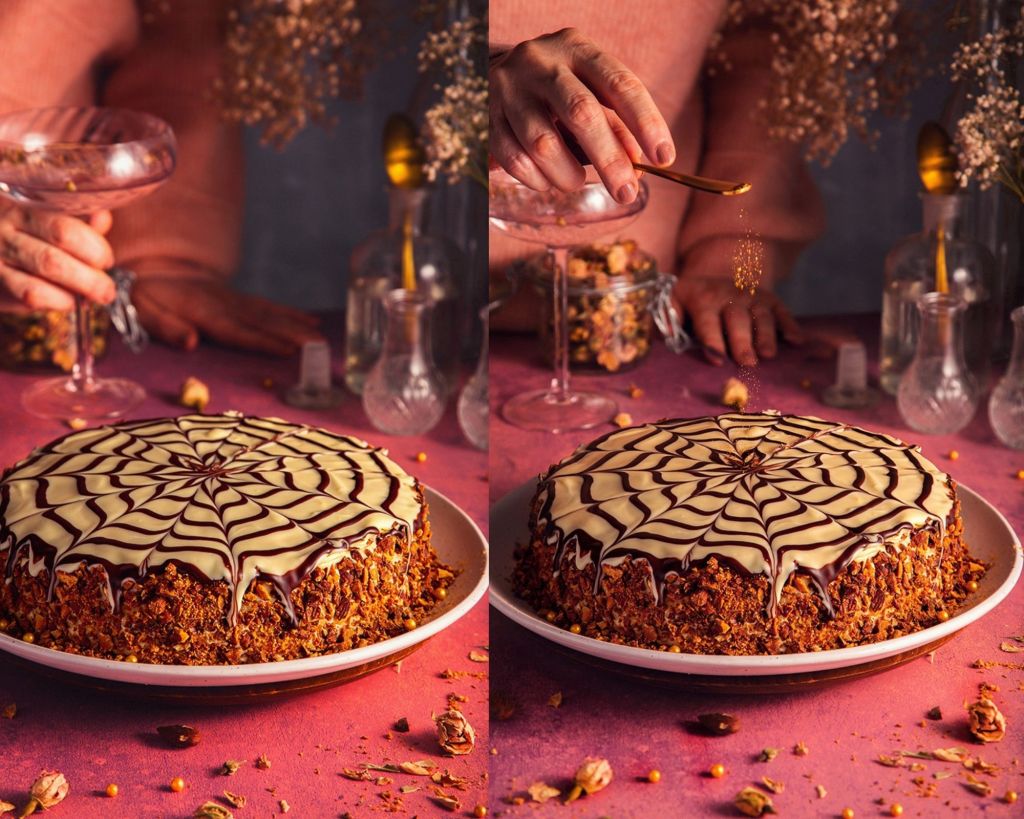
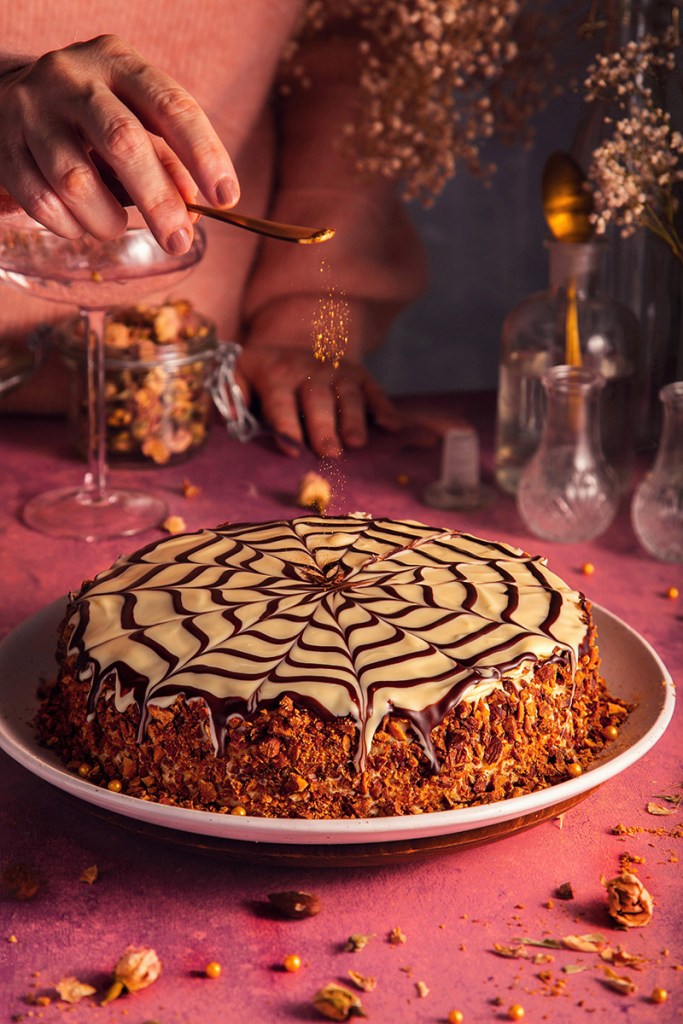
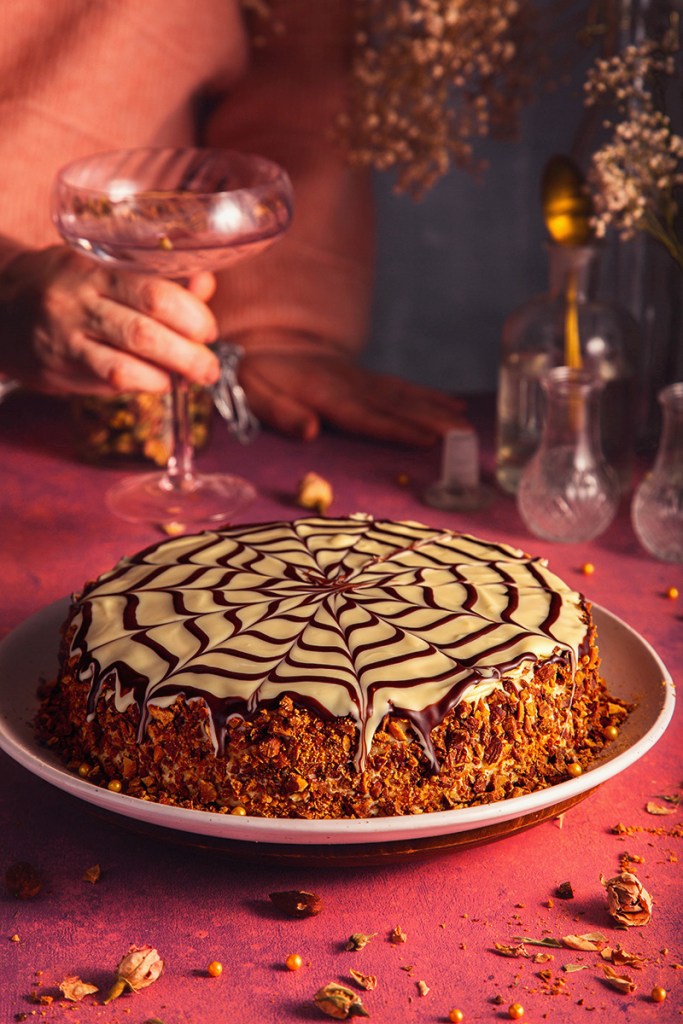
The Esterházy torte is instantly recognisable by its distinctive glaze — a delicate web drawn over a glossy white surface. I prefer to use white chocolate instead of the traditional icing made with egg whites and icing sugar, which I find a little too sweet for my taste.
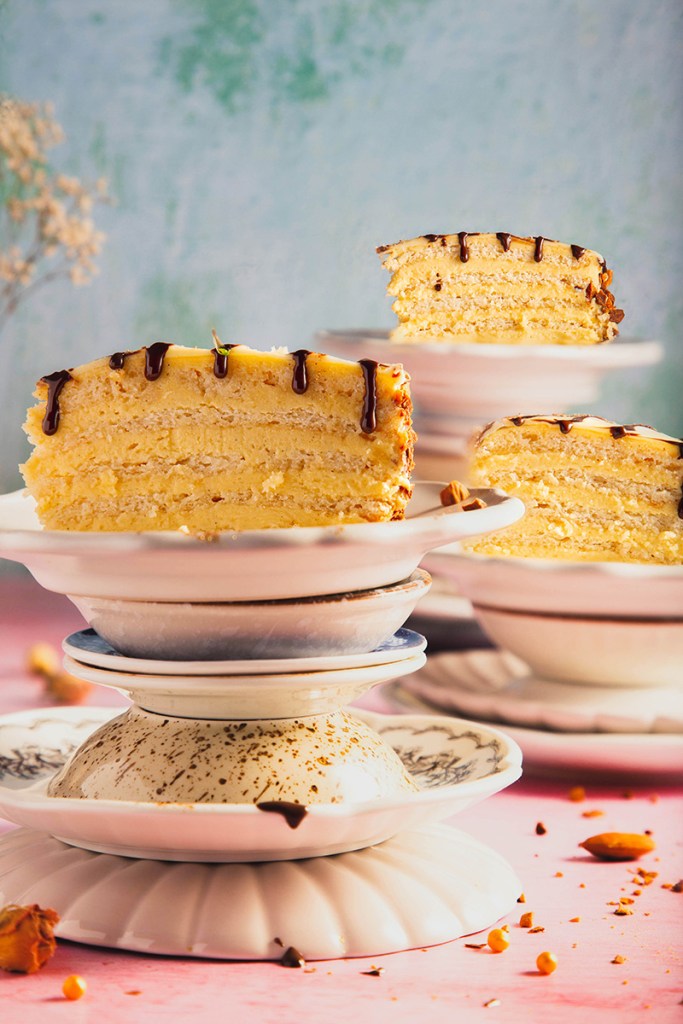
The dacquoise layers are delicate, nutty, and wonderfully sophisticated, despite being surprisingly simple to make. They are a hallmark of many tortes, and by changing the type of nuts or adding finely grated chocolate, you can create a range of subtle variations in flavour and texture.
I’ve written before about my love of Crème Mousseline — you’ll find the recipe for my Torte La Bohème on my blog.
Can I freeze it?
Yes, it freezes very well.
Important notes:
- Choose good-quality unsalted butter.
- You can use different nuts, such as ground walnuts or hazelnuts.
Esterházy Torte
A classic Hungarian layered torte — elegant, nutty, and perfect for an Easter celebration.
Esterhazy Torte
Decadent Almond Torte Recipe.Torte of almond dacquoise layered with vanilla Crème Mousseline.
Ingredients for almond dacquoise:
- 8 egg whites (use large eggs)
- 200g almond flour (finely ground blanched almonds)
- 170g caster sugar
- Butter to oil baking paper
- Large mixing bowl
- Baking paper and a little bit of butter to oil the paper
- 2 baking trays
- 2 cooling racks
Ingredients for crème mousseline:
- 8 yolks
- 150g icing sugar
- 50g plain flour
- 250ml full-fat milk
- 1tsp vanilla paste or good quality vanilla extract
- 250g good-quality unsalted butter
- Medium-sized saucepan with a thick bottom
Ingredients for the decorative glaze:
- 100g white chocolate
- 2tbsp sunflower oil or any neutral oil
- 50g dark chocolate
- 1tsp sunflower oil or any neutral oil
- 2 small saucepans
- Small piping/pastry bag with the smallest nozzle
Also:
- 50g of finely chopped roasted almonds
- Beautiful serving cake plate
instructions:
dacquoise
The dacquoise mixture is prepared all at once, then divided and spread into five cake layers, each 20 cm in diameter.
- Roll out baking paper over two large baking trays — each should be big enough to hold two 20 cm circles. Cut an extra sheet for the fifth round. Using a pencil, draw the circles onto the paper. I use the base of a springform tin to trace them, but any dish of the right size will do. Lightly butter the paper within the outlines.
- Separate the eggs, placing the eight egg whites in a large mixing bowl and the yolks in a medium saucepan.
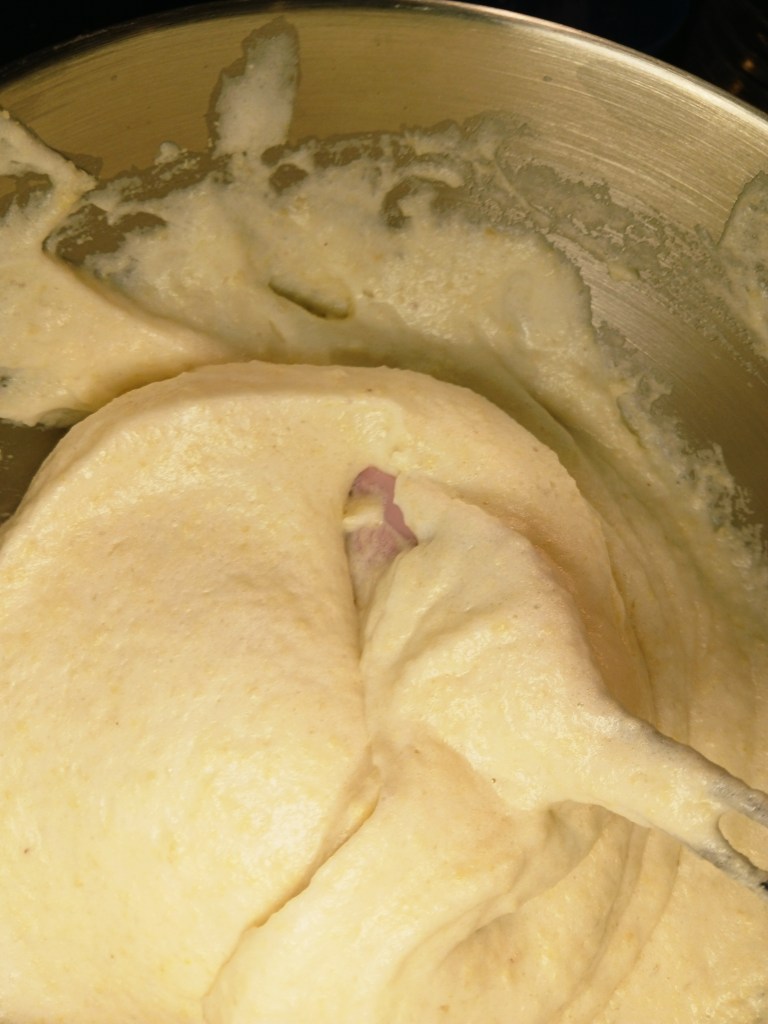
- Whisk the egg whites until firm peaks form.
- Gradually add the sugar, whisking until it dissolves and the meringue is glossy.
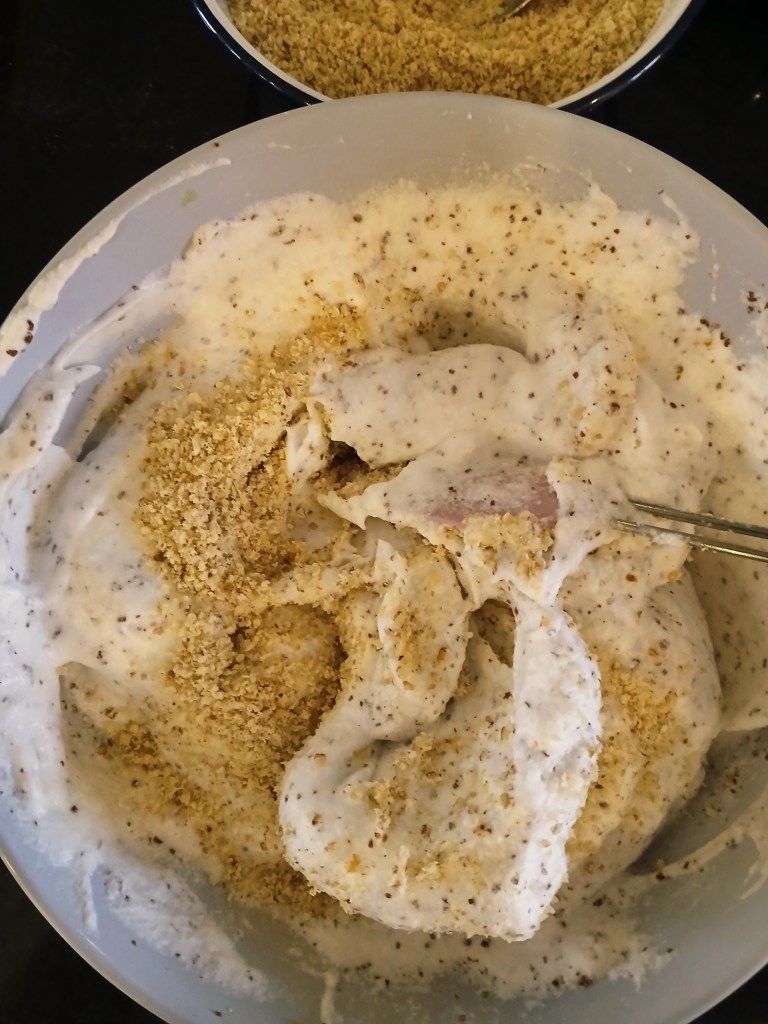
- Gently fold the almond flour into the whisked whites.
- Using a spatula, gradually fold in almond flour, turning the spatula from the bottom to the top with each movement until evenly combined.
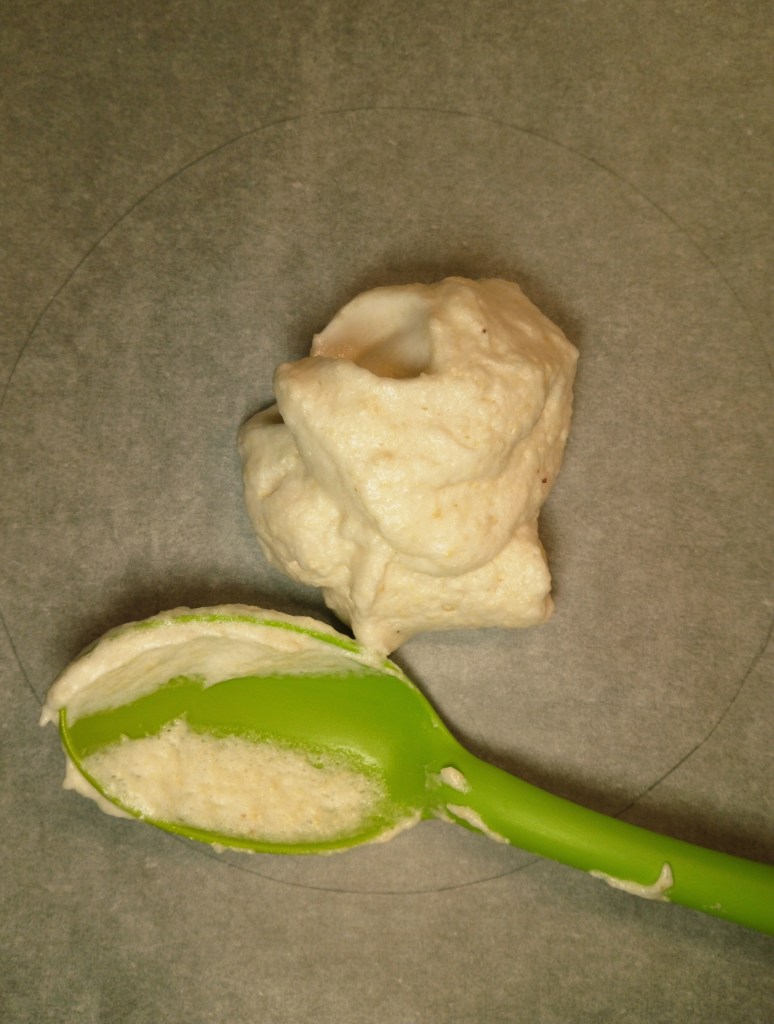
- Divide the mixture into five equal portions. Place a spoonful of batter in the centre of each marked circle, then continue adding spoonfuls until all the mixture is used.
- Preheat the oven to 170 °C (fan) or 180 °C (conventional).
- Gently spread the mixture out to the edges of each circle. Use a palette knife or, if you don’t have one, a butter knife and spoon to smooth the surfaces and the edges.
- If using a fan oven, bake two trays (four cake layers) at a time and the remaining one in a second batch. If using a conventional oven, bake one tray at a time — this will require three rounds.
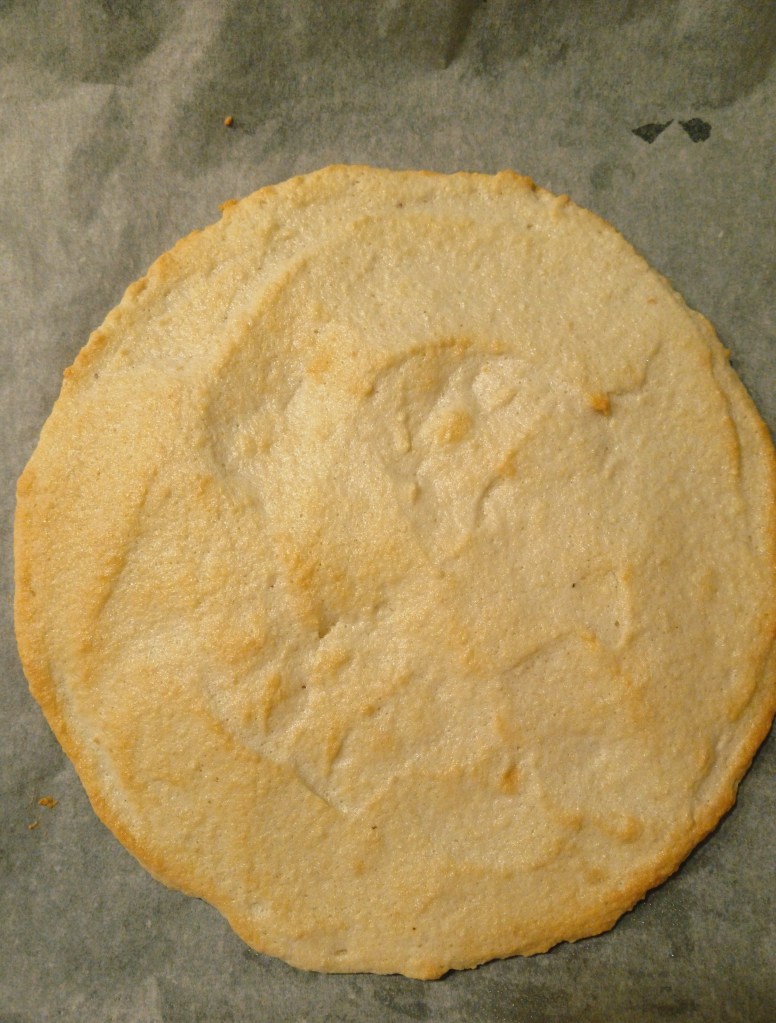
- Bake for about 10 minutes, until the layers are firm to the touch and lightly golden around the edges.
- Remove from the oven and peel off the baking paper as soon as they’re cool enough to handle. Leave the layers to cool completely on a wire rack. They cool quickly, so you can transfer the first one onto your serving plate while the others finish baking.

Crème mousseline:
The method I’m using here is foolproof—tried and tested hundreds of times not only by me, but also by my mother and sister. What I love most about it is that it greatly reduces the risk of curdling the egg yolks. Trust me on this one!
- Remove the butter from the fridge and weigh it into a mixing bowl.
- In a medium-sized, heavy-based saucepan (the one you used to drop all 8 yolks), weigh and whisk together the yolks and icing sugar by hand.
- Place the saucepan back on the scales, then weigh and whisk in the flour, ensuring there are no lumps.
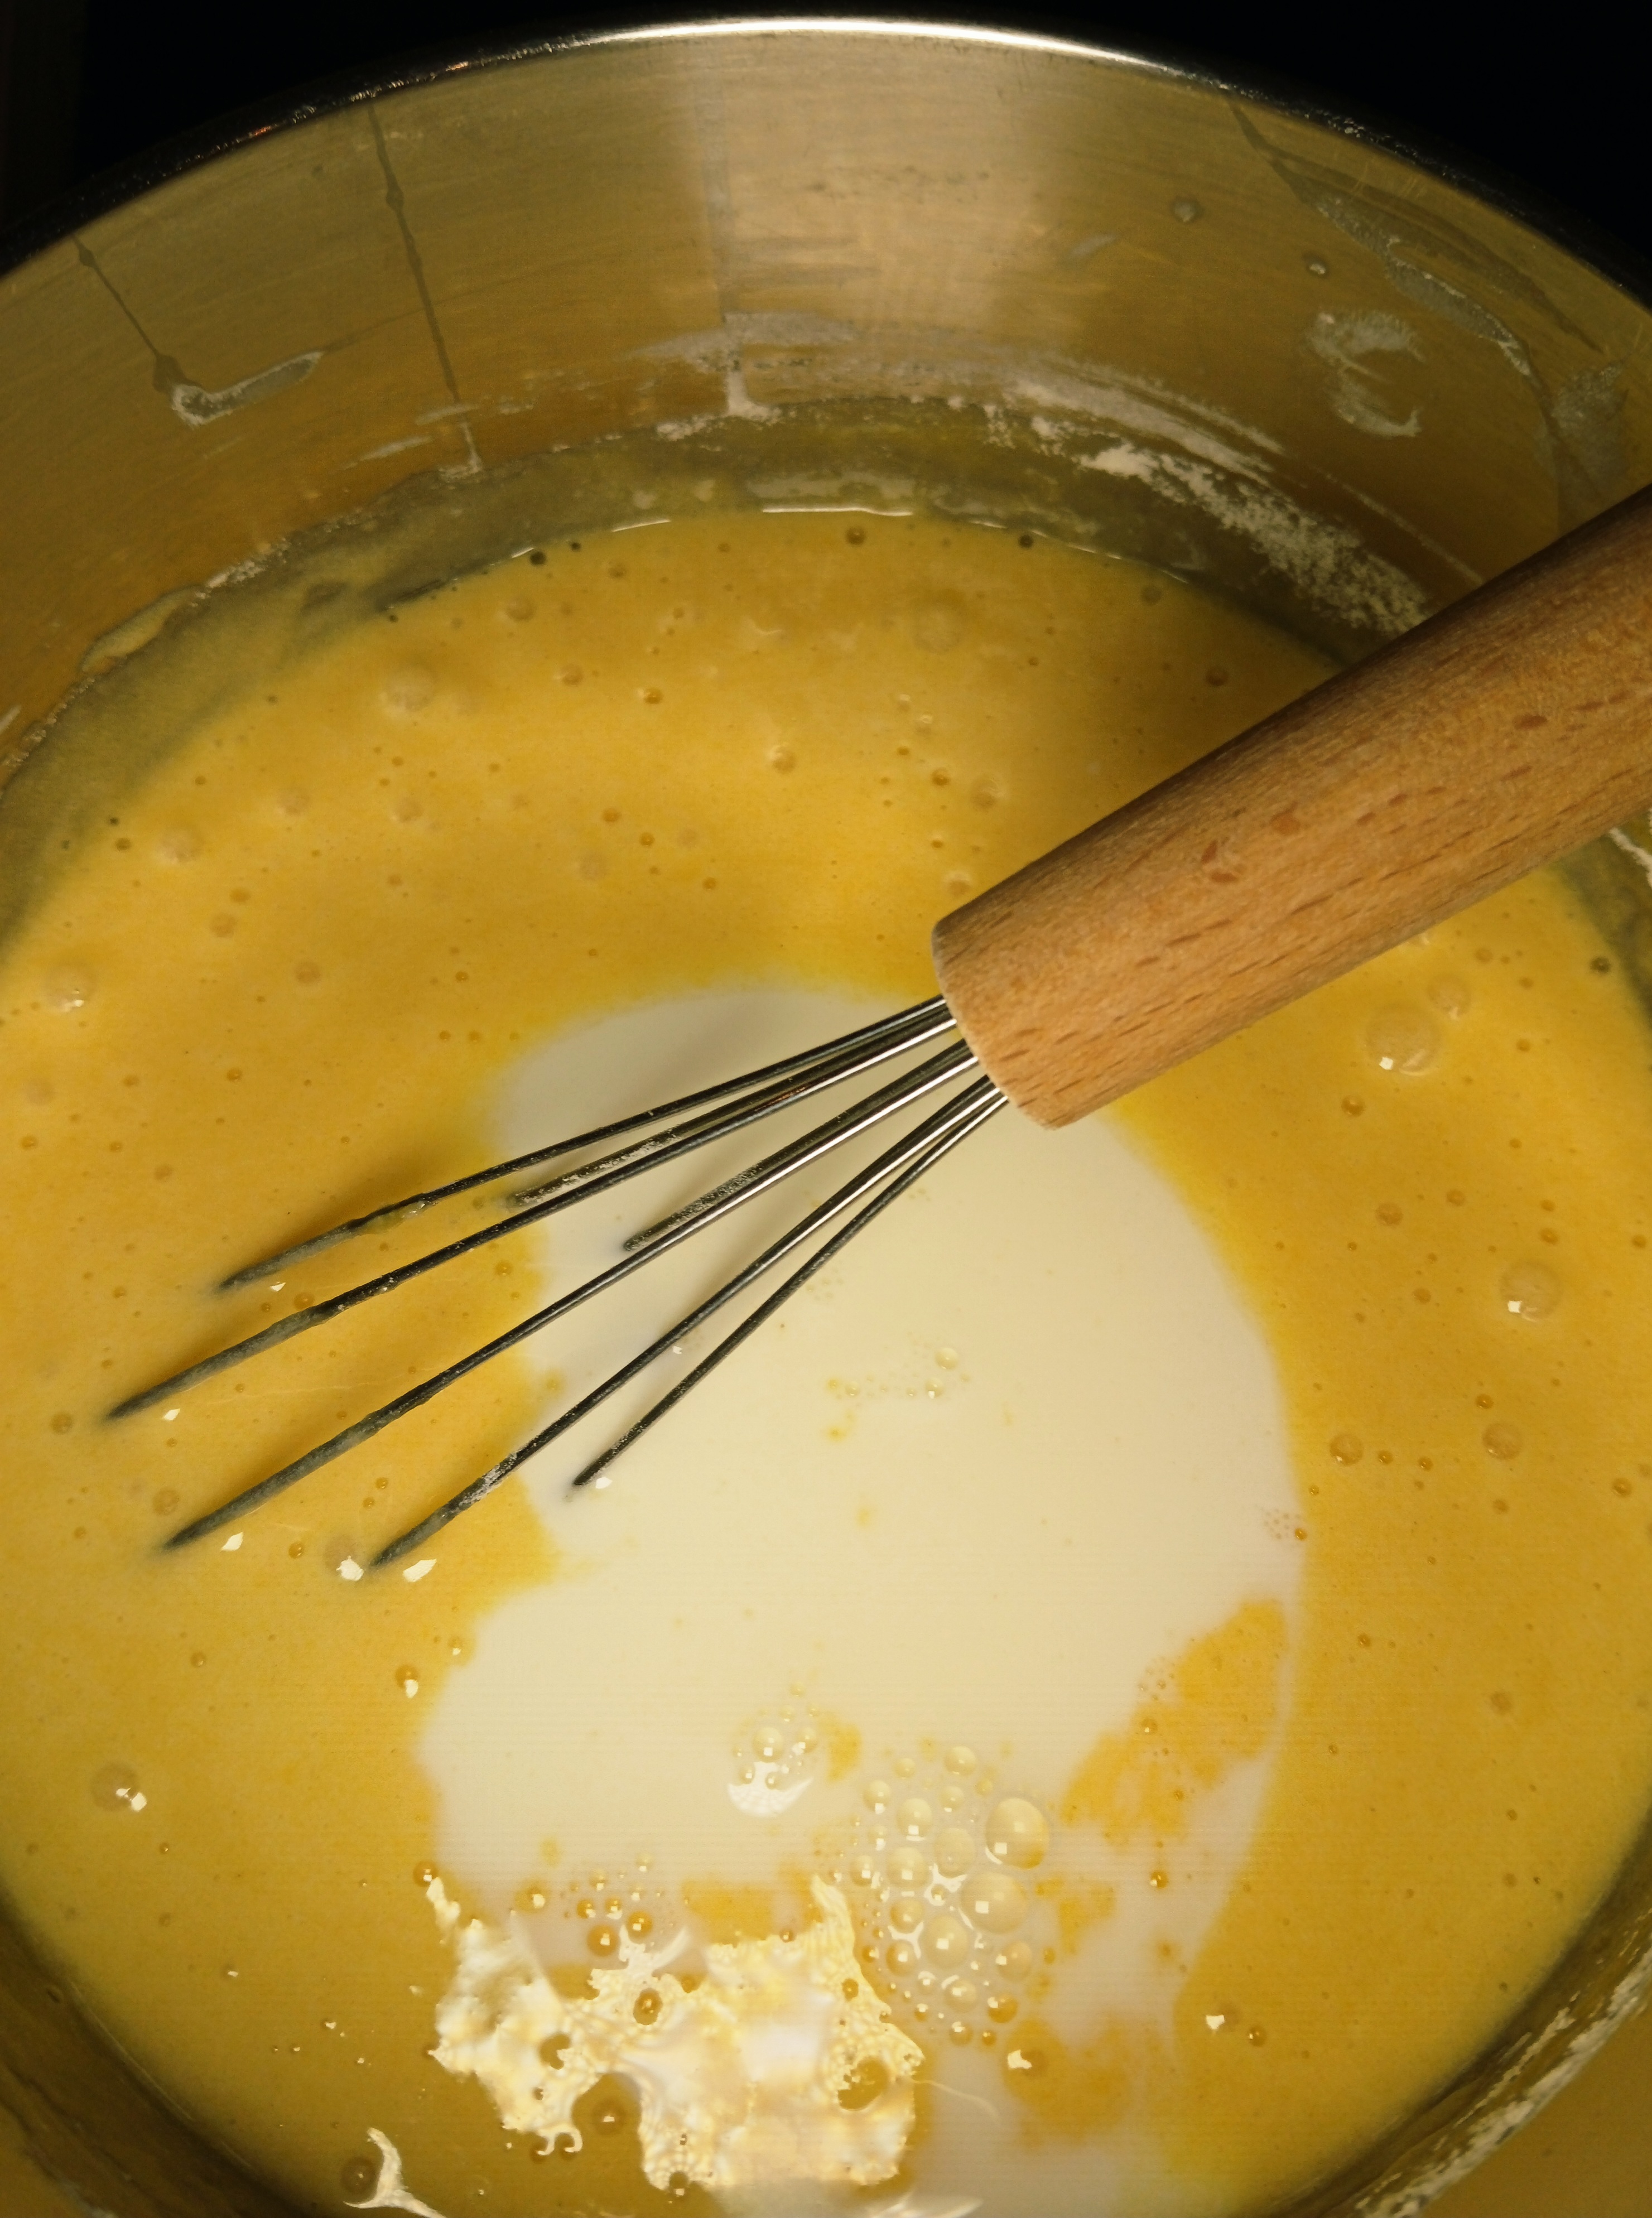
- Measure out the milk in a jug, and use a little of it to mix into the mixture until smooth—it may feel quite thick at first, but a splash of milk helps loosen it.
- Pour in the remaining milk into the saucepan, stirring well to fully dissolve the egg yolk, sugar, and flour mixture.
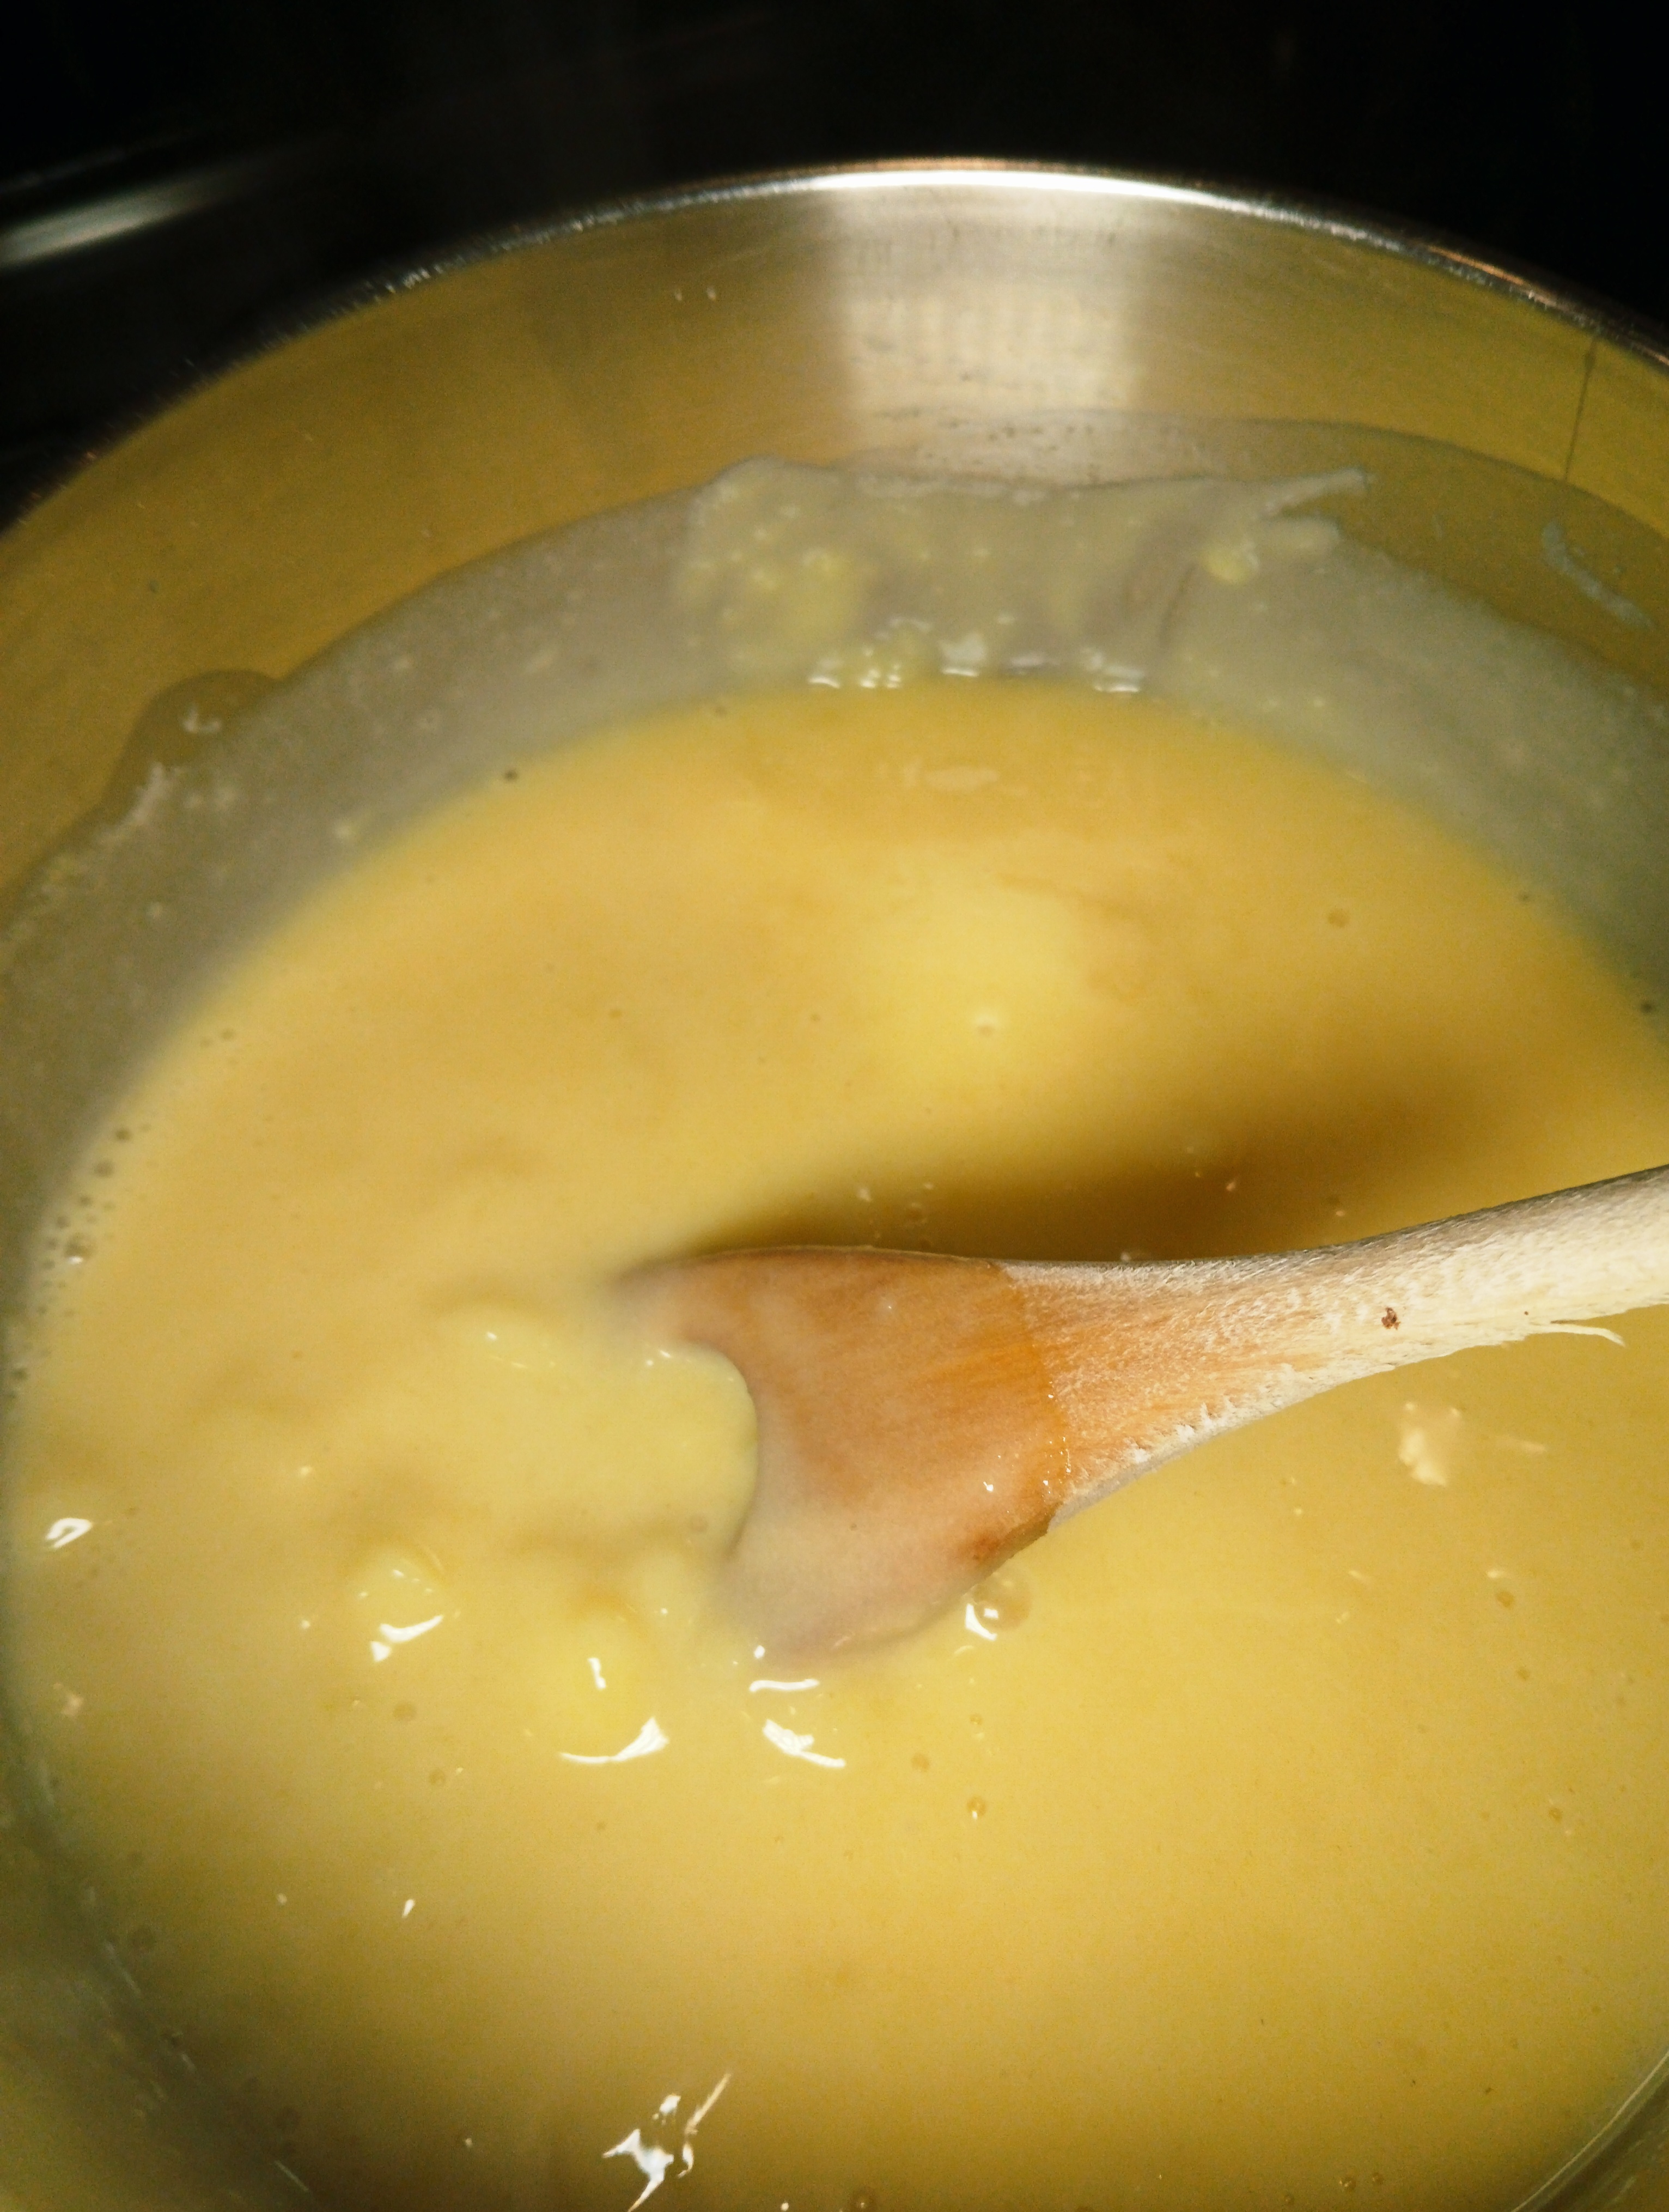
- Set the saucepan over a low heat and begin to stir. At first, you won’t need to stir constantly, but as the mixture warms, you’ll need to give it more attention. The main goal is to prevent the cream from catching on the bottom and burning. As soon as you notice it starting to thicken slightly, begin stirring continuously. It takes time for the mixture to heat through, but once it begins to thicken, it all happens very quickly.

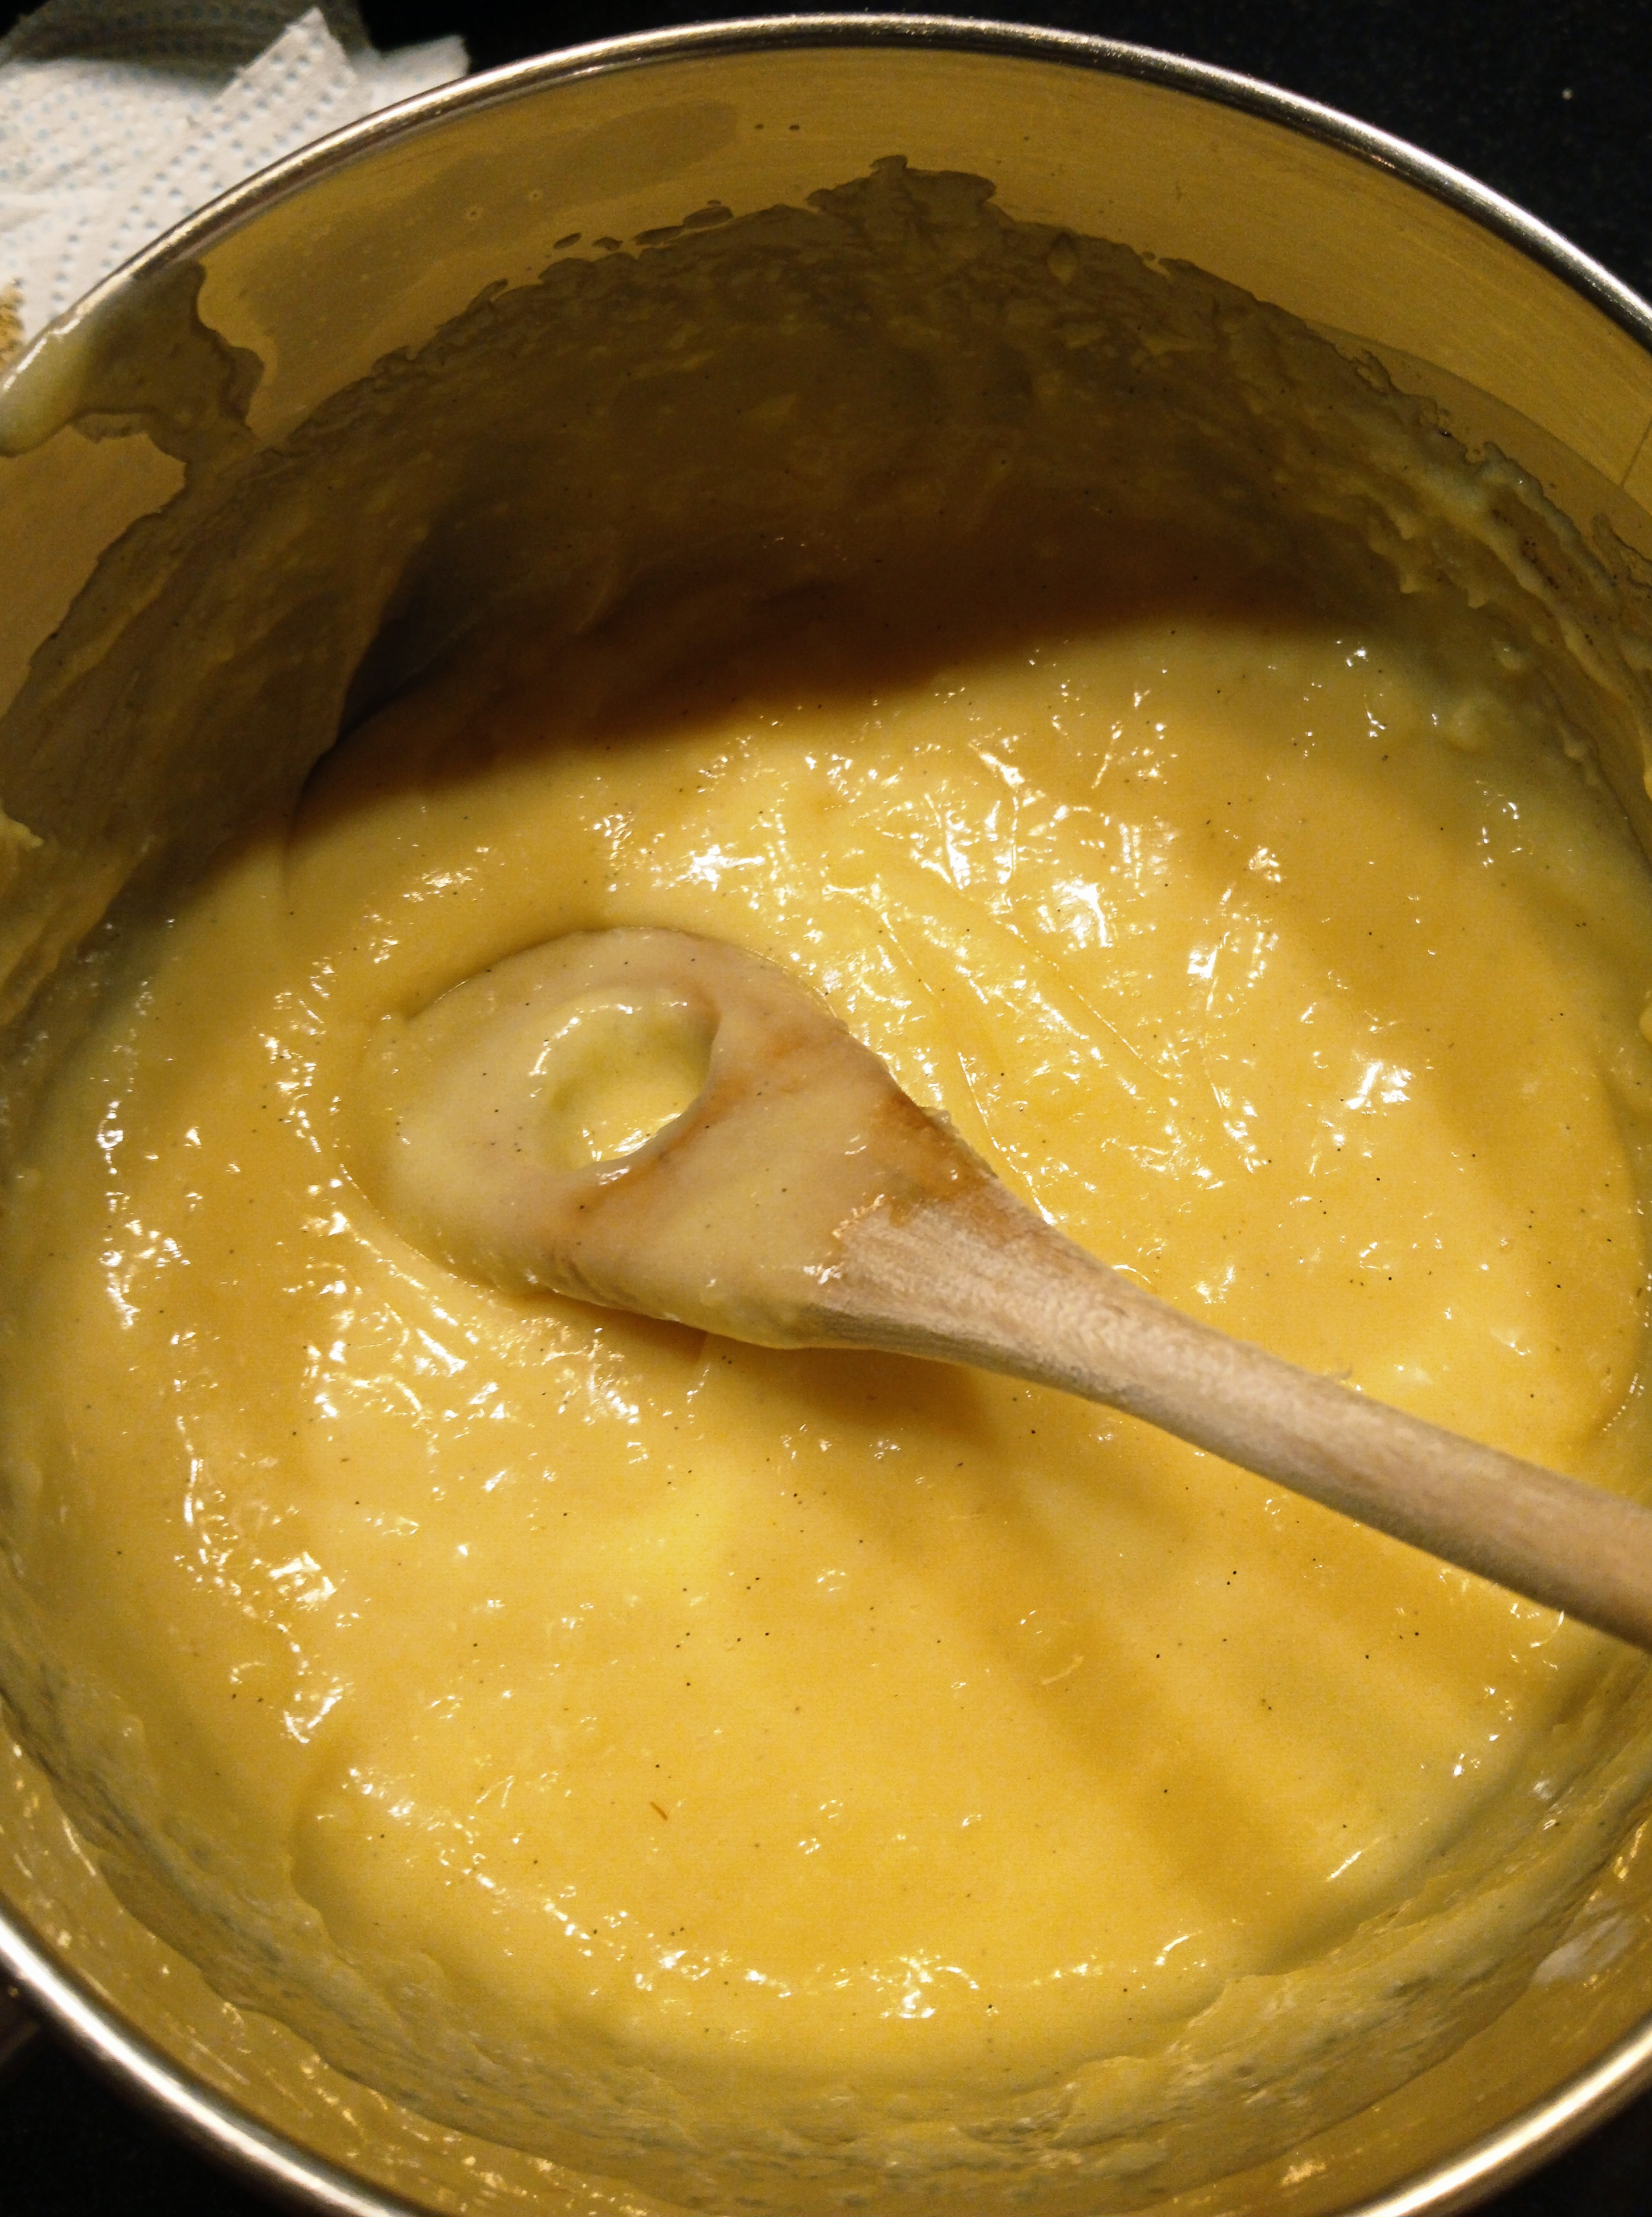
How will you know when the cream is ready?
When you run the mixing spoon across the bottom of the pan, it should leave a trail that doesn’t close up straight away. You can also check the photos for reference!
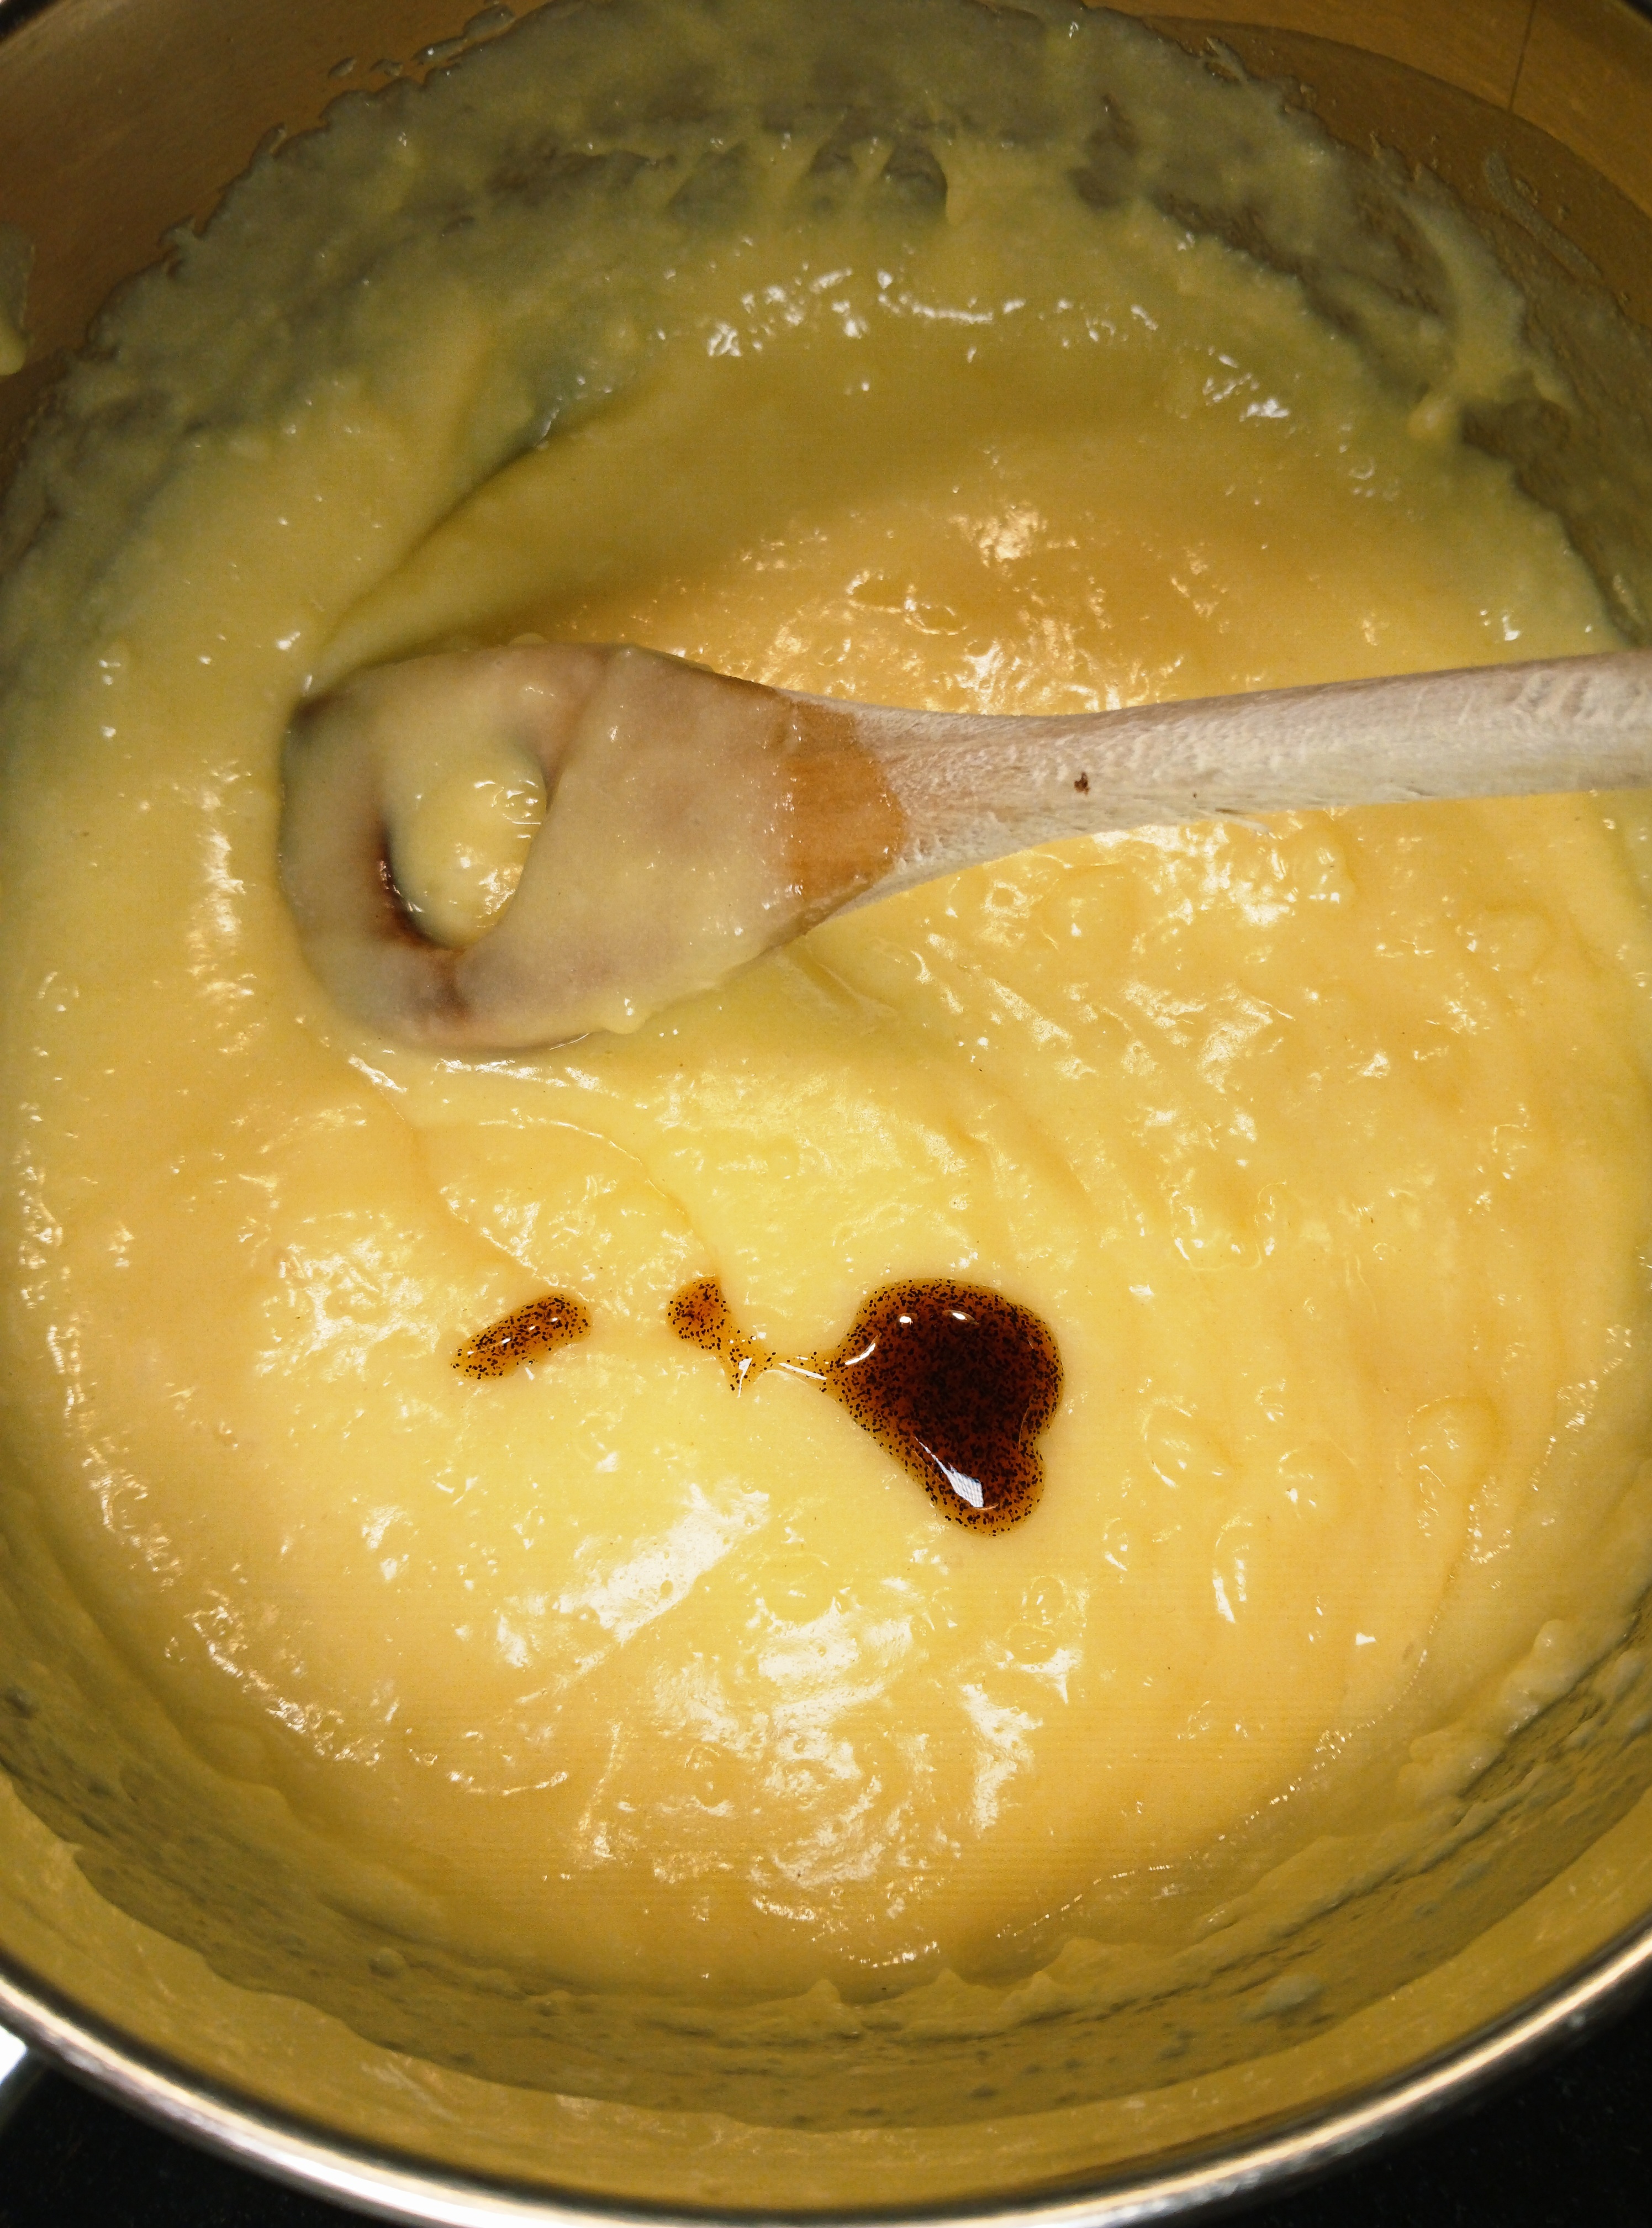
Quickly remove the pan from the heat and keep stirring vigorously to smooth out any lumps. I don’t enjoy this part much, as my arm usually starts to ache after a while. That’s when I usually call my husband or one of my sons to help me out. Do the same—get an extra hand if you can! Then, add the vanilla.
Last Step to Perfect Crème Mousseline
Allow the pastry cream to cool to room temperature. The butter should already be out of the fridge — it’s important that both are at the same, or very similar, temperature.
In the meantime, roast the almonds and chop them finely.
Once you’re confident, they’ve both reached room temperature, cream the butter. Then whisk the cooled pastry cream briefly with a hand mixer (no need to wash the whisks), which will make it lighter and smoother. Add a tablespoon of the cream to the creamed butter and whisk again. Continue adding the cream, one tablespoon at a time, until it is fully incorporated.
Assembling the Torte
Choose a beautiful tray for your torte – it certainly deserves it.
- Place the first of the five dacquoise layers on your serving plate.
- Set aside three tablespoons of the cream to use later for coating the entire torte.
- Divide the remaining cream into four equal portions. If you prefer precision, you can weigh each portion into separate bowls.
- Spread one quarter of the cream evenly over the first layer, then place the second dacquoise layer on top.
- Continue layering with the remaining cream and dacquoise until all five layers are assembled.
- Use the reserved cream to coat the top and sides of the torte smoothly.
- Press the chopped roasted almonds gently onto the sides while the cream is still soft and tacky — once exposed to air, it can dry out and make it harder for the nuts to stick.
Refrigerate overnight to set.
Esterházy pattern
The final step is to create the distinctive pattern that makes the Esterházy torte instantly recognisable. Begin by melting both types of chocolate at the same time over a very low heat, or use a microwave if you prefer.
- In one small saucepan, combine the white chocolate with the cooking oil.
- In another, combine the dark chocolate with the remaining oil.
- Heat the white chocolate gently until it’s half melted, then remove from the heat.
- Stir continuously until completely smooth.
- Do the same with the dark chocolate: warm it gently until half melted, then take it off the heat and stir until fully melted.
- Pour the melted white chocolate slowly over the torte. If it’s too warm and runny, it may drip over the edges — wait a moment for it to thicken slightly, but not so long that it loses its pourable consistency.
- Transfer the melted dark chocolate into a piping or disposable pastry bag. If using a disposable one, snip a small hole in the tip with scissors.
- You can draw concentric circles if you like, but I prefer to pipe one continuous spiral starting from the centre — it gives me better control and creates a neat, web-like pattern.
- Using a toothpick, drag a line gently from the centre outwards. Do not press too hard. Then draw the next line in the opposite direction, from the edge back towards the centre. Continue alternating in this way to create the signature woven pattern.
Refrigerate the torte overnight to set. Before serving, dust lightly with golden powder to make it even more special — then slice and ENJOY.

Leave a comment